Making rich, delicious Mozzarella is really a whiz
With a gallon of milk and a few basic kitchen tools, you can make mouth-watering mozzarella cheese in less than an hour.
“I love mozzarella. You can do it with kids and it’s quick,” says Fresh Abundance owner BrightSpirit Hendrix, who will be teaching a cheese-making class at her nonprofit community farm later this month.
Making mozzarella at home is fun and relatively simple. While the technique is straightforward, precision is important. Pay attention to temperature and timing, and be sure to follow the directions, says Hendrix.
You will be rewarded with the satisfaction that comes from that first bite of warm, deliciously rich cheese knowing that you made it yourself.
Before you start:
Choose the right milk
“You can use almost any kind of milk (including goat’s milk) to make cheese, but whole milk gives you more volume when you are finished and has more flavor,” says Trish Vieira, who owns Spokane Family Farms dairy farm with her husband Mike.
Vieira cautions that ultra-pasteurized (UP) or high-heat pasteurized milk should not be used, as the process destroys enzymes in the milk, making it unsuitable for cheese making.
According to Ricki Carroll, author of “Home Cheese Making,” organic milk is often ultra-pasteurized to make it suitable for long-distance shipping and will not work for cheese making. Carroll suggests buying local milk whenever possible, and recommends using whole milk for your first attempt at making mozzarella.
Start with a clean kitchen
Starting with a clean work area is paramount to the success of cheese making. Friendly bacteria work their magic on milk during cheese-making and unwanted bacteria from unclean surfaces and equipment can interrupt this process.
Before starting, sterilize all tools and equipment by immersing them in boiling water for five minutes. Add two tablespoons of household bleach to one gallon of water and use this bleach solution and a cloth to wipe down all work surfaces. This solution can also be used to sterilize items that are too large to boil, such as glass bowls and enamel pots.
Stainless steel items must be rinsed after being sterilized with bleach to remove any remaining residue that might react with the cheese-making bacteria. Allow all items to air dry.
Preparing the cheese:
Forming the curds
Now that your kitchen is clean and all of your supplies are ready, it’s time to begin.
First, prepare the rennet, an enzyme that will be added to the milk. Add
Pour one gallon of milk into a stainless steel pot placed over medium heat. Add two teaspoons of citric acid to the milk while stirring continuously until the milk reaches 90 degrees Fahrenheit.
“Citric acid helps make the cheese stretchy and not so firm,” explains Vieira.
Add the previously prepared rennet solution, stirring it into the milk in and up-and-down motion. Stir gently every few minutes until the milk reaches 100 to 105 degrees Fahrenheit and the curds begin to separate from the whey (the green watery liquid). Turn off the heat.
Let the pot rest undisturbed for 3 to 5 minutes. The curds should be firm, with a clear separation from the whey. If the curds are too soft, let the pot sit a minute or two longer.
Kneading and stretching the cheese
Next, use a slotted spoon to scoop the curds into a large glass bowl. Discard the liquid whey, or save it for later use in soup stock or add to smoothies for extra protein. Press down on the curds gently with your hand or the back of the spoon and pour off remaining whey.
Heat the bowl of curds in the microwave on high for one minute and drain off the whey again. Use your hands or a wooden spoon to press the curds into the shape of a ball. Microwave two more times for 35 seconds each, continuing to drain the whey and knead the cheese into a smooth, pliable ball.
Add salt during the second kneading, if desired. Knead quickly until the cheese is smooth and pliable – it should stretch like taffy. When the cheese is smooth and shiny it is finished and ready to be shaped into a ball.
Enjoy the cheese while it is still warm, or if you plan to eat it later, place in a bowl of ice water for 30 minutes to cool the internal temperature and provide an even texture throughout.
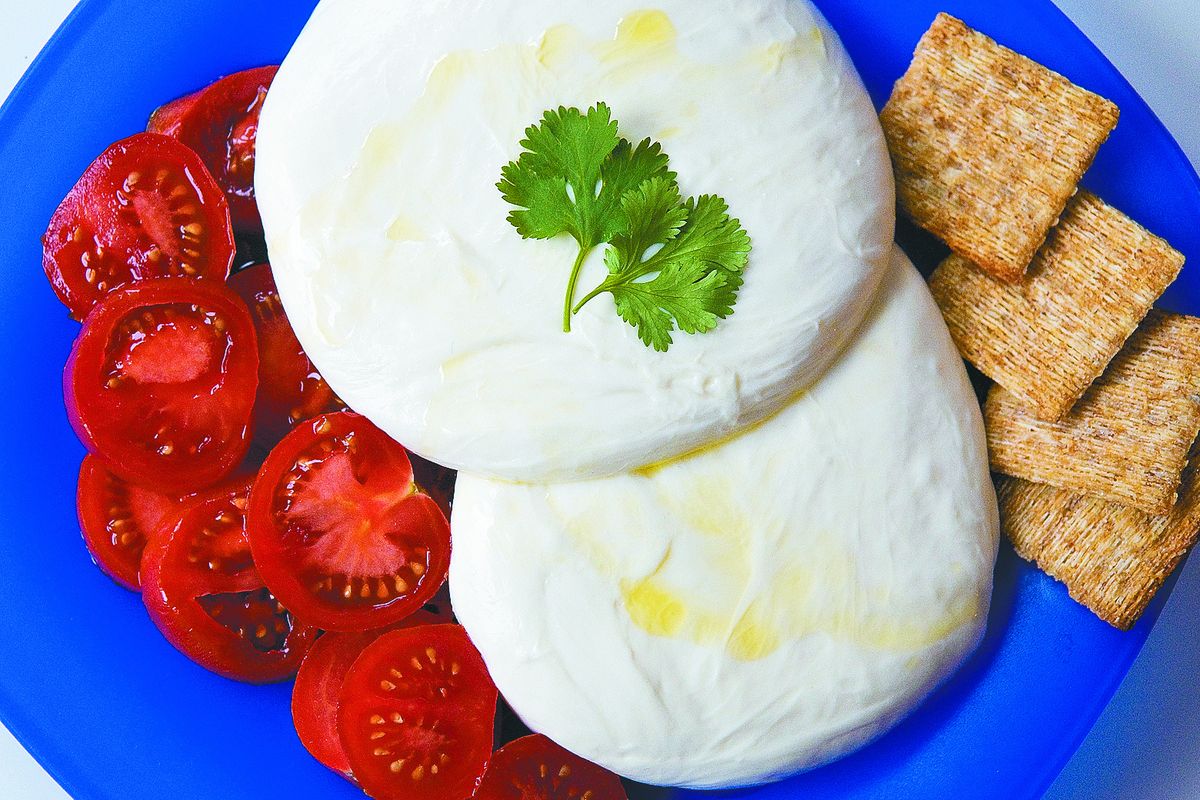
Fresh mozzarella is best eaten immediately, but can be wrapped in plastic wrap when cool and stored in the refrigerator for two to three days. One gallon of milk will make about 12 ounces of mozzarella.
Troubleshooting:
If the curds look like ricotta and don’t set firmly or won’t come together during kneading, most likely the milk has been high-heat processed. Buy a different brand of milk, checking to make sure it doesn’t say “ultra-pasteurized” or “UP” on the label, and try again.
If the cheese is too dry, try again and don’t let the curd set for as long. Make sure to use whole milk and knead the curds gently, just until they come together in a ball. Drain the whey off while kneading, but don’t press all of the milky white moisture out of the cheese.
For more helpful tips and troubleshooting, visit www.cheesemaking.com.
Spokane Family Farms’ Vieira has a final word of advice: “Practice makes perfect.”