Upcycle Your Post-holiday Wrap and Keep it Out of the Trash
“‘Twas the day after Christmas and all the pretty packages tied up with bows, had quickly become a pile of trash, just adding to the world’s woes.”
Okay, so maybe I should leave the Christmas poetry up to Clement Clarke Moore. However, all that post-Christmas refuse somewhat douses the holiday merriment just a bit, don’t you think?
So rather than giving your garbage service job security, add to the merriment by creating a wrapping paper collection that you can use for a plethora of projects all year long.
First though, you may need to spiffy it up a bit. To do this, set your iron on low and lay a piece of fabric over your paper on an ironing board. Now gently iron those wrinkles away and it’s good as new (or almost)!
Now, here are some project ideas to get you started.
Make Your Origami More Festive! Cut your left-over gift-wrap into squares and make origami! The different patterns add more beauty and interest to the end-result!
Weave a Colorful Coaster. Think back to your elementary school days and I bet you can remember weaving a hot pad holder for your Mum out of colorful fabric. Take that same idea, but make coasters out of your old wrapping paper! Here is a tutorial I found. However, I would wrap each strip in clear packing tape first, to make them water-resistant. Happy weaving!
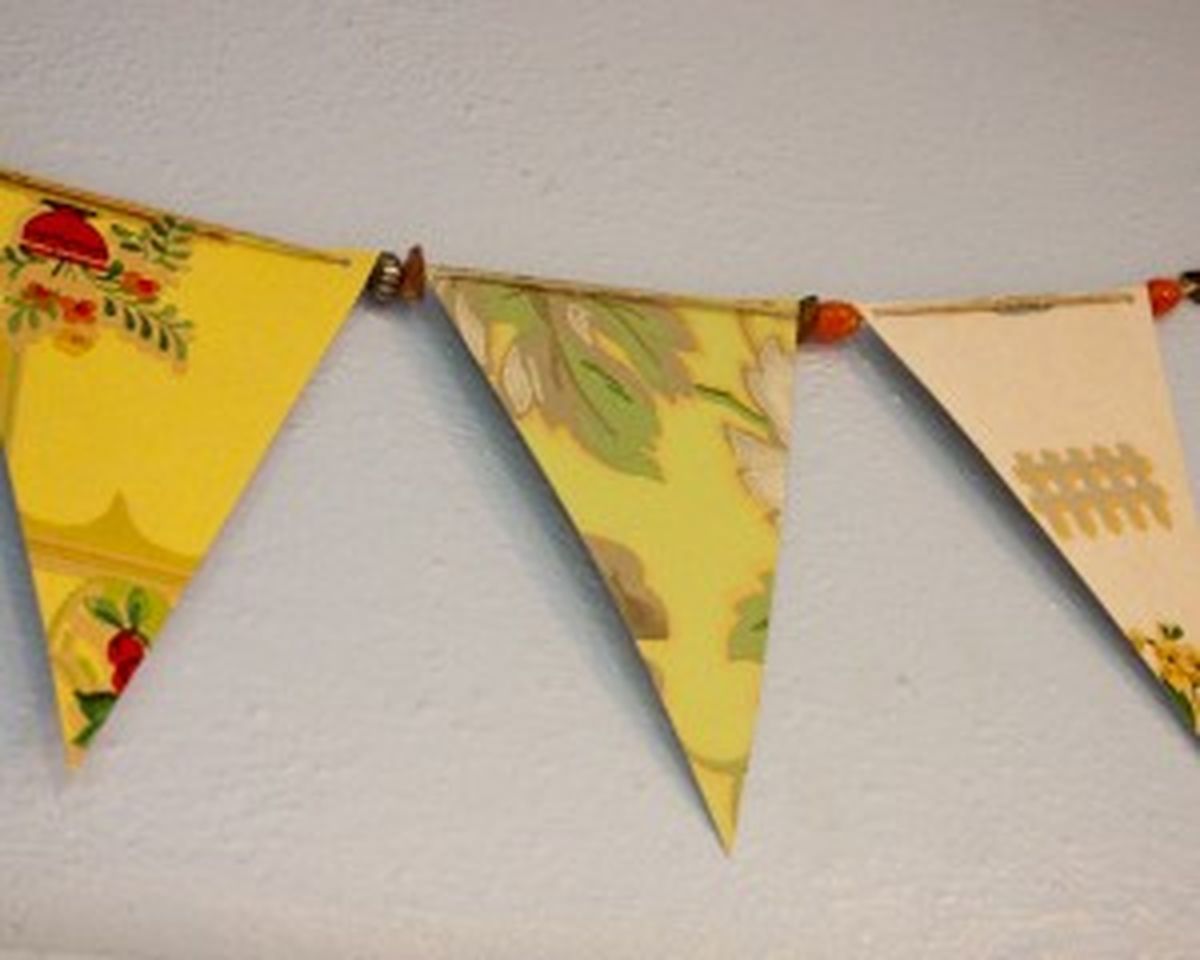
Give Your Bunting a Boost! Make your bunting—that is any festive strand that you’d use to adorn walls for a party or just for fun—extra interesting and colorful. To make gift wrap into bunting, you can follow this tutorial and use reclaimed gift wrap in place of vintage paper.
Serve in Upcycled Style. Purchase a wooden serving tray from a craft store and decoupage away with your left-over paper. This could be a great gift for the next holiday season!
Shred and Send - Or Sprinkle! Send that gift-wrap through the paper shredder and use it instead of bubble wrap next time you’re mailing a fragile gift. Or better yet, after you’ve shredded it, cut the strips into tiny pieces, perfect for New Year’s Eve confetti!
Create Colorful Can Organizers! Cover an empty, clean tin can in reclaimed gift wrap to make a pencil holder or other type of organizer for your desk. Just use a hot glue gun or Modge Podge to adhere the paper to the can.
Upcycled Party Caps. Wear your upcycled creation with pride and you’ll be the life of the party. Start by cutting 2 10-inch circles (9-inch for children) per hat by tracing a 10-inch plate onto your paper. Do the same with light cardboard (cereal boxes work great). Adhere the paper circles to the cardboard circles with double-sided tape. Now overlap the circles, covering the bottom circle by about one-third of the diameter and adhere with white glue. When dry, wrap into hat shape and staple. Make slits on either side and insert ribbon to keep hats in place, if you like. Top off with a great tassel by rolling a 4-inch strip of paper into a cylinder, taping it together, then cutting vertical slits half-way down the cylinder and fanning the cut paper out. Do the same to the bottom of the cylinder but only make 4 short cuts. Insert cylinder into top of hat, and fan out short strips on underside of hat and adhere with top.
Original Bows Everyone Will Want to Wear on Their Head! Turn that paper into pretty gift bows for your next gift using this tutorial.
Take it Old School with Paper Chains. These are great for inexpensive party décor, and they’re fun to make! Cut your gift-wrap into strips (however big you want your chain to be). Now bring the ends together and staple. Continue by looping a strip of paper through each link.
Paper Beads. These are so fun to make and easy to make. While they’re often made using magazine pages, reclaimed gift wrap and junk mail are great stand ins! Click here for a tutorial.
Let It Snow Paper Snowflakes. Make colorful snowflakes for decorating, embellishing gifts or string them up with your bunting! If you’ve forgotten the how-to on this timeless craft, here’s some step-by-step help.
Never Buy Envelopes Again! This craft is so simple and is great for those homemade Christmas cards you need envelopes for! Simply take a rectangular piece of wrapping paper, sizing it to whatever mail you need to send. Fold up the bottom portion of the rectangle and tape sides of envelope together. Now fold down top corners of rectangle into a triangle to make the envelope flap and tape. And volia! You’ve just created a sure-fire way for your mail to be read first!