Walnuts show star quality in pie recipe
Like pecan pie, its walnut cousin is rich and nutty.
While pecans are slightly sweeter, walnuts – known for being mildly bitter – are typically cheaper. They’re also higher in omega-3 fatty acids and copper, and super-rich in B vitamins.
And they’re ancient. Walnuts are believed to have originated in Persia. Petrified walnut shells from the Stone Age have been found in southwest France. Remnants of walnuts have also been found in tombs in Tunisia in what was once Carthage, destroyed by Romans in 146 B.C.
In ancient Rome and Greece, walnuts symbolized fertility and were considered food fit for gods. And in the Middle Ages in France and Italy, walnuts were given as tokens of love.
These days, they’re normally a secondary ingredient, used to add crunch to cookies, muffins, brownies, banana breads, baklava, fudge, fruitcake and granola, or to top sundaes, yogurt and oatmeal.
I’ve used crushed walnuts to crust salmon and as a substitute for pine nuts in homemade pesto. Pieces in the fillings of pumpkin and apple pies or apple and pear tarts add texture. Ground walnuts also accent pastry crusts.
Walnuts are reliable accessories. They’ve proven their trustworthiness in dish after dish, from savory side and main dishes to desserts.
But they don’t have to be sidekicks.
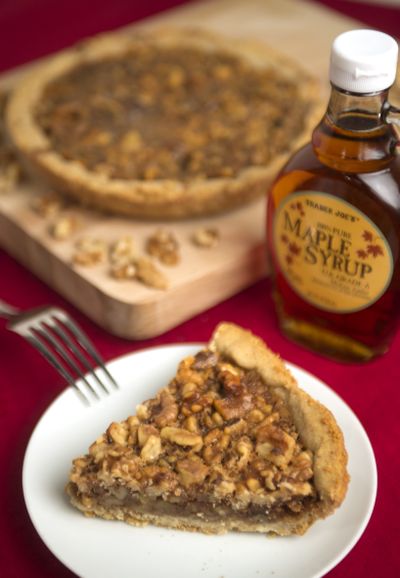
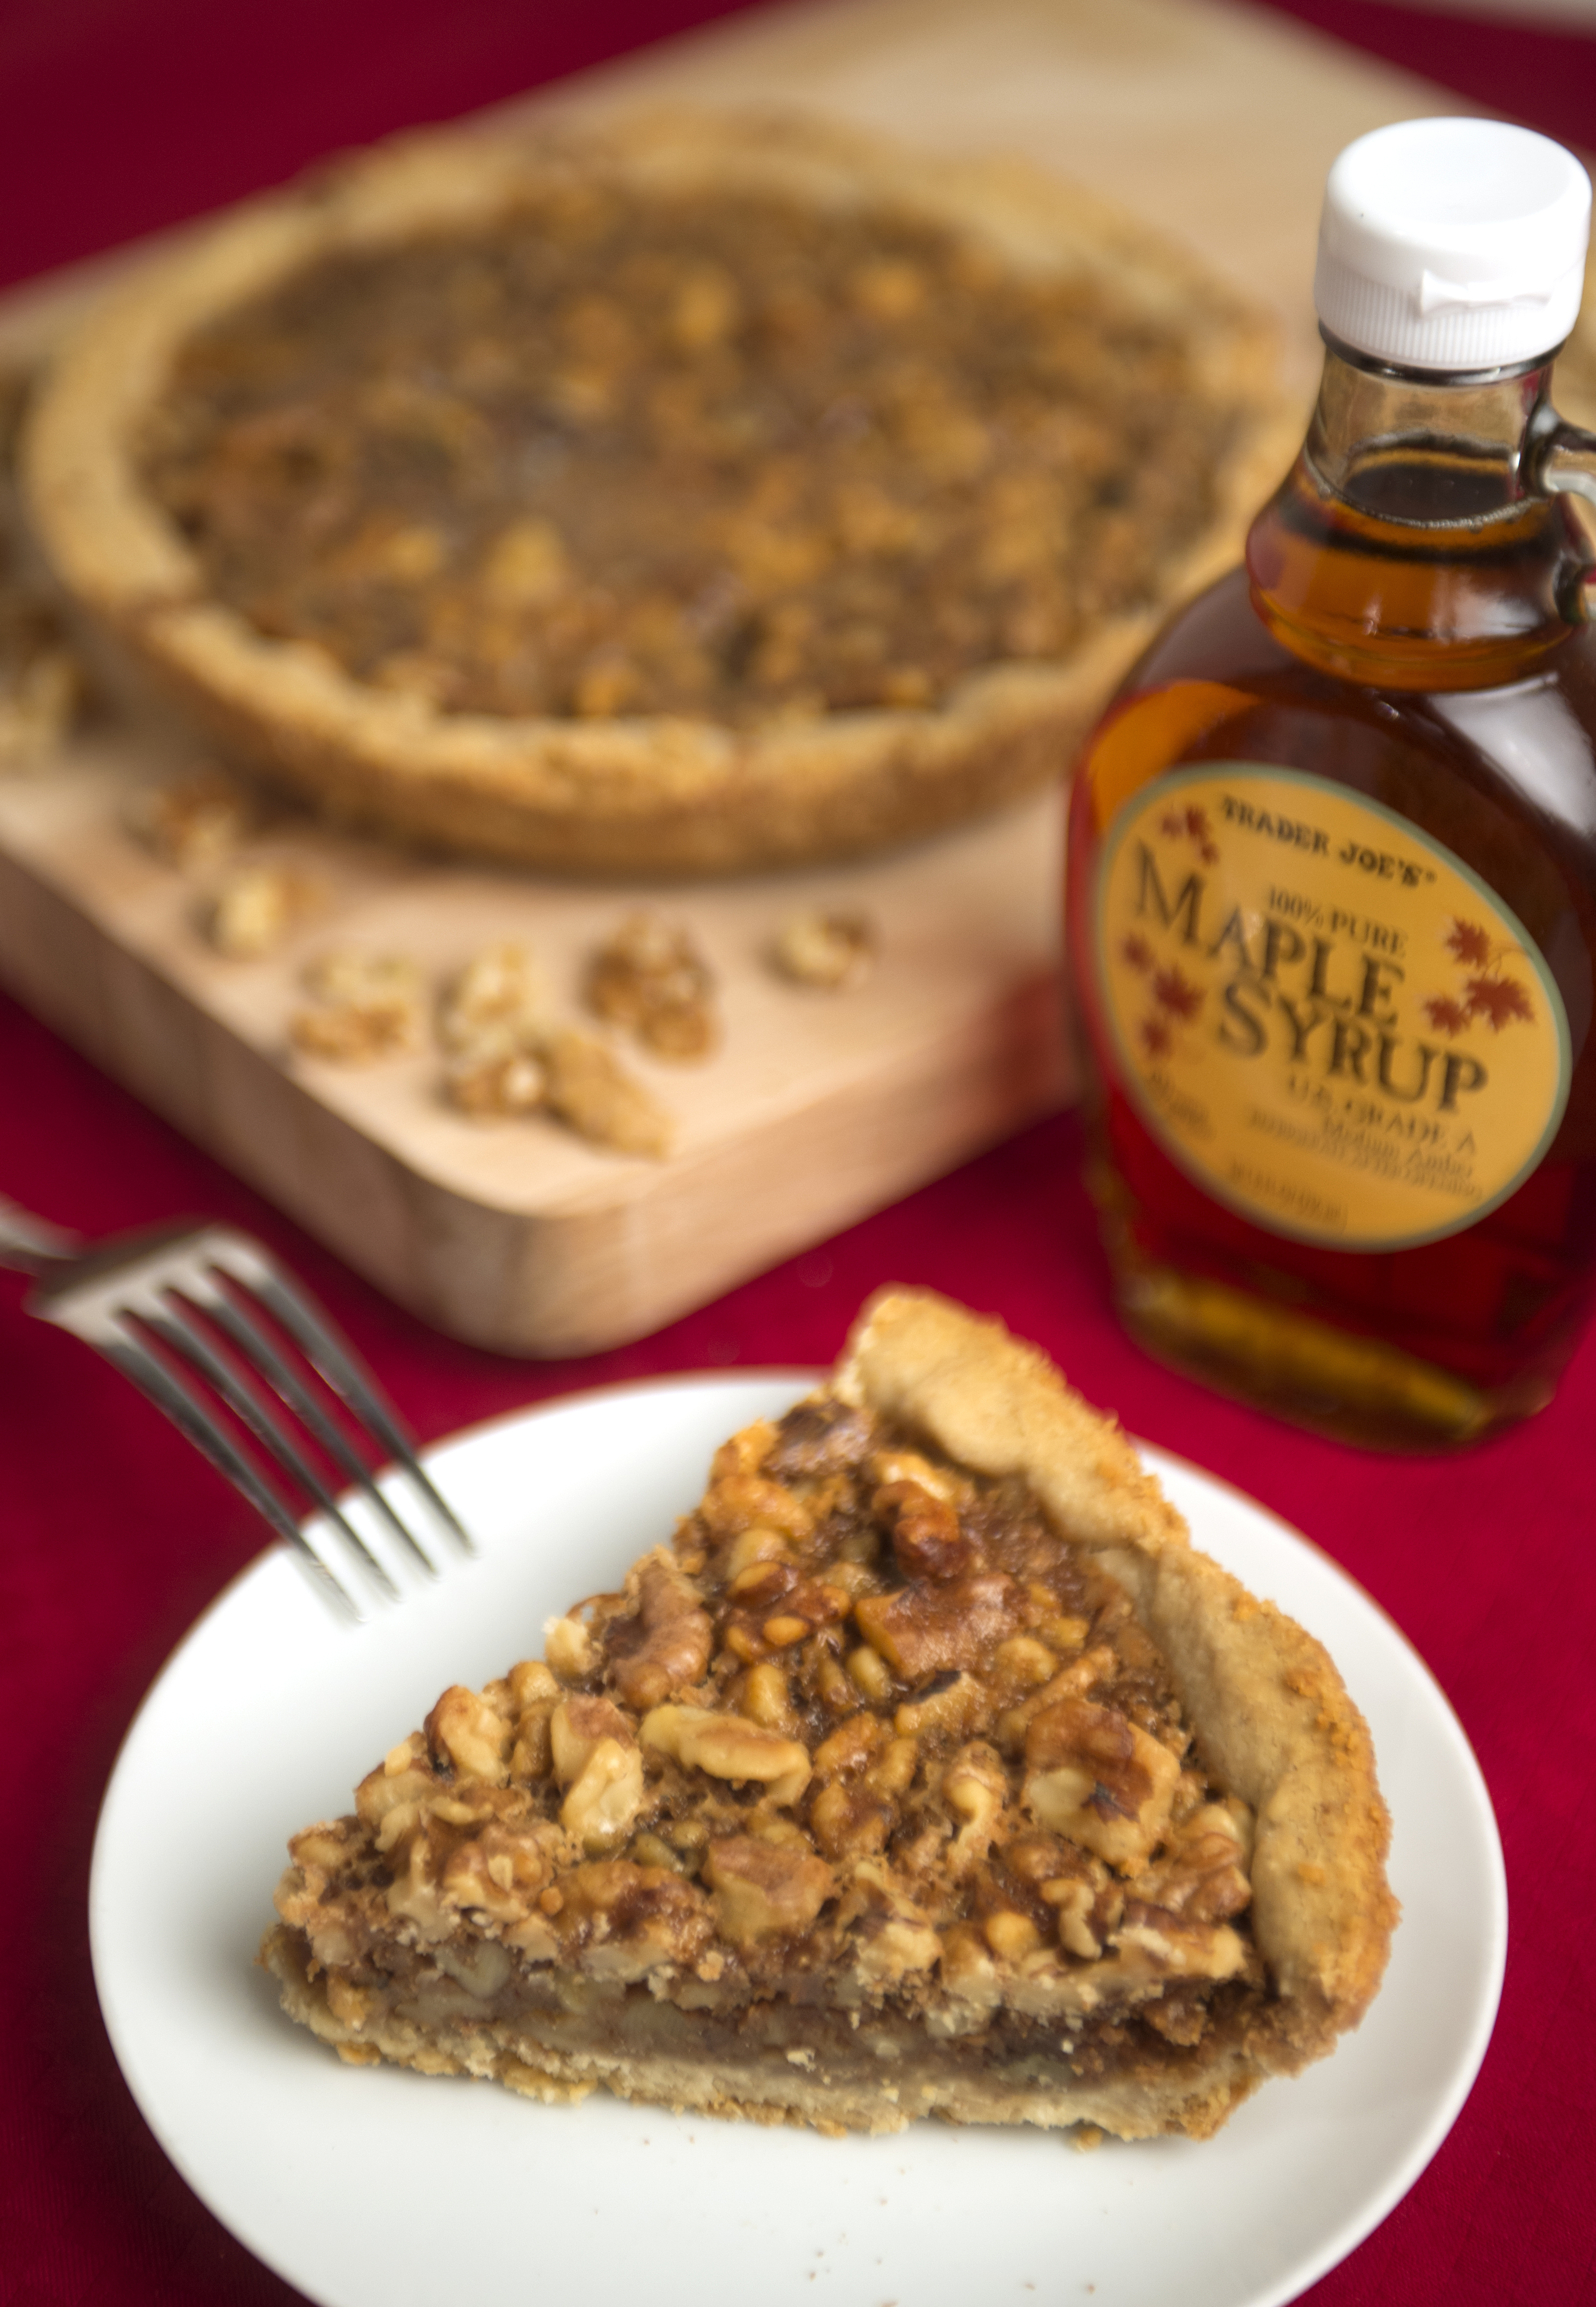
This Walnut maple pie from SimplyRecipes.com puts walnuts in the spotlight. Their sometimes slightly bitter flavor is balanced – not overpowered – by the sweetness of the maple and spiciness of the cinnamon and nutmeg.
I made two pies with this recipe, using Grade-A maple syrup instead of the B-grade maple syrup the recipe recommends for its stronger maple taste. To boost the flavor, I added three teaspoons of brown sugar and a tablespoon of bourbon to the filling of each.
I also used extra walnuts – 2 1/2 cups instead of 2. (I don’t like skimpy fillings.)
The recipe calls for 1/8 teaspoon of ground cinnamon and 1/8 teaspoon ground nutmeg. My taste-testers suggested doubling the amount of both spices to add more flavor but not sweetness – and I would agree. I like a little more spice than the recipe suggested.
I also experimented with the sweetness with one of the pies, adding a 1/4 cup of butterscotch chips to the filling and topping it with a 1/4 of a cup of small bits of caramel. While this variation received positive reviews, many said it was too sweet for their taste and using half of the chips and half of the caramel would suffice – or using the caramel but leaving out the butterscotch chips.
I also experimented with the crust, adding a half cup of walnuts. I processed the nuts in the food processor, grinding them in with the dough as it was mixing.
While the ground walnuts added flavor, the crust turned out a little more crumbly than I would have liked. Next time, I still plan to add the ground walnuts to the crust, but instead will add them in lieu of ½ cup of the flour.
I still enjoy pecan pie, but this walnut version shouldn’t be overlooked. I plan to make it again for its delicate maple-nut flavors and cinnamon sweetness.
Walnut Maple Pie
from SimplyRecipes.com
9-inch pie shell, frozen for at least 30 minutes (See pie crust recipe below)
2 cups roughly chopped walnuts
2 eggs, beaten
1 cup maple syrup (grade B is recommended)
1 tablespoon dark rum or bourbon (optional)
1/2 teaspoon vanilla extract
2 tablespoons melted butter
2 tablespoons all-purpose flour
1/4 teaspoon salt
1/8 teaspoon ground cinnamon
1/8 teaspoon ground nutmeg
Preheat oven to 375 degrees. In a bowl, mix together the beaten eggs, maple syrup, rum or bourbon (if using), vanilla extract, melted butter. Sprinkle with flour, salt, cinnamon and nutmeg. Whisk until smooth. Spread the chopped walnuts over the bottom of a prepared pie shell. Pour the maple syrup egg mixture over the walnuts.
Place in the preheated oven on the middle rack. Place a cookie sheet on the rack underneath to catch any drippings from the pie crust. Bake 40 to 45 minutes. After about 20 minutes (about halfway through baking), you might want to tent the pie crust edges with foil, or use a pie protector, so that the edges don’t burn.
Don’t worry if the surface of the pie cracks while cooking. The pie filling will puff up while hot (because of the eggs), then deflate while it cools. Remove from the oven and let cool completely before serving.
All Butter Crust for Sweet and Savory Pies
from SimplyRecipes.com
2 1/2 cups all-purpose flour, plus extra for rolling
1 cup (2 sticks or 8 ounces) unsalted butter, very cold, cut into 1/2-inch cubes
1 teaspoon salt
1 teaspoon sugar
6 to 8 tablespoons ice water
Combine flour, salt, and sugar in a food processor; pulse to mix. Add butter and pulse 6 to 8 times, until mixture resembles coarse meal, with pea-size pieces of butter. Add ice water 1 tablespoon at a time, pulsing until mixture just begins to clump together. If you pinch some of the crumbly dough and it holds together, it’s ready. If the dough doesn’t hold together, add a little more water and pulse again. Note that too much water will make the crust tough.
Remove dough from machine and place in a mound on a clean surface. If you want an extra flaky crust, smoosh the dough mixture into the table top with the heel of the palm of your hand a few times. This will help flatten the butter into layers between the flour which will help the resulting crust be flaky. You can easily skip this step.
Gently shape the dough mixture into two disks. Work the dough just enough to form the disks, do not over-knead. You should be able to see little bits of butter in the dough. These small chunks of butter are what will allow the resulting crust to be flaky. Sprinkle a little flour around the disks. Wrap each disk in plastic wrap and refrigerate at least 1 hour, and up to 2 days.
Remove one crust disk from the refrigerator. Let it sit at room temperature for 5 to 10 minutes in order to soften just enough to make rolling a bit easier. Roll out with a rolling pin on a lightly floured surface to a 12-inch circle; about 1/8 of an inch thick. As you roll out the dough, check if the dough is sticking to the surface below. If necessary, add a few sprinkles of flour under the dough to keep the dough from sticking.
Carefully place onto a 9-inch pie plate. Gently press the dough down so that it lines the bottom and sides of the pie plate. Use a pair of kitchen scissors to trim the dough to within 1/2 inch of the edge of the pie dish. Add filling to the pie.
Roll out second disk of dough, as before. Use it for the base of a second pie. Or, gently place onto the top of the filling in the first pie for a covered pie. Pinch top and bottom of dough rounds firmly together. Trim excess dough with kitchen shears, leaving a 3/4-inch overhang. Fold the edge of the top piece of dough over and under the edge of the bottom piece of dough, pressing together. Flute edges using thumb and forefinger or press with a fork. Score the top of the pie with four 2-inch long cuts, so that steam from the cooking pie can escape.