Round Table Runner: Friday’s Project #22
Eighteen round table runners are now in a box waiting for our wedding reception. I like that 1 ¼ yards of fabric can (fairly easily and with minimal swearing) be turned into a table runner that is elegant and interesting (and not a square napkin placed on point).
I saw this project in the winter issue of Martha Stewart Weddings. I know Martha Stewart is not every artist/crafter’s favorite, and often her projects are more complicated than the instructions indicate, but I decided to try this one anyway. I expected more complications than I actually experienced, which I count as a win. I do, however, think the “how to” is a bit lacking, so I’ve revised and added to the original instructions.
The instructions call for 60”-wide fabric, which is not always easy to find and is often more expensive than standard 44”-wide yardage. I used 44”-wide fabric and purchased it with coupons because of the quantity I needed. I did have to adjust the size of the pattern, but that wasn’t difficult. One thing you do need to insure is that you begin with a square piece of material. I purchased mine in 1 ¼ yard lengths to match the 44” width.
Folding: make sure to take your time with the folding and that your folds are ironed with sharp creases. You will need to iron them out later, but the cutting is more accurate with sharp folds. You will be folding your material in half diagonally eight times, ironing each crease as you go.
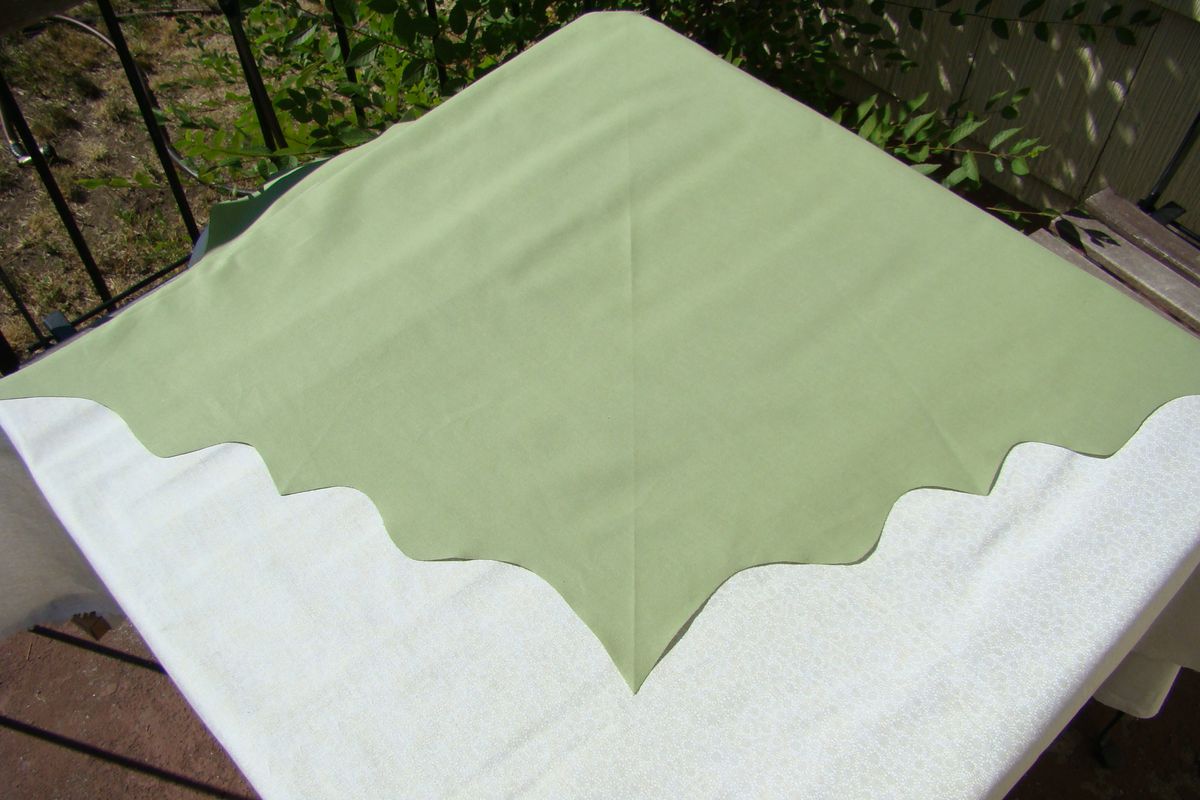
Cutting: I folded as suggested (so you have 16 layers of fabric), but I opened one fold and traced the pattern twice, flipping it over the center crease so the pattern remains symmetrical (see photos above). Cutting through eight layers of fabric was much easier than trying to cut accurately through sixteen layers.
The issue of fraying: no sewing or hemming made this project particularly enticing, but fabric frays when raw edges are left unfinished. I tested several solutions and the winner was Fray Check, easily found at your local fabric store. You do have to be careful when applying it, but I found application fairly quick while I watched movies (multitasking!). Fray check did not discolor the fabric I chose, though do test before applying. Just follow the instructions on the package.
Ironing: do iron the runner when it is complete. The original instructions advise ironing out wrinkles “if necessary”—that's more than a bit misleading. It is a necessary step and will take a strong hand, lots of steam, and even some starch.
Whether you make one or twenty, I think this project is worth the effort; it was actually pretty simple. I'll post a better "after" photo when I can.