12 Days of Holiday Crafts, Day 7: Decorated Tree Centerpiece
This year, my tree is a tabletop centerpiece. While it isn’t the same as a big tree in the living room, it is sustainable and merry.
You will need:
- a container for the base
- plaster of Paris
- a dry branch or two
- piece of felt
- glass Christmas balls and hooks
Choose your container and branch carefully. You want them to be fairly balanced; a branch that is too big will risk tipping the base and the centerpiece will look awkward and off-balance. Also make sure you choose a branch that has small limbs for hanging ornaments.
The choice of container leaves space for some good repurposing. A terracotta flowerpot would work really well (just make sure you cover the hole before pouring in the plaster). I used a vintage flour sifter I had in my stash—I like the pattern and color for this project. I put a piece of cardboard in the bottom blocked the plaster from seeping through the screen.
Before mixing the plaster, trim your branch to height. The plaster will start to set quickly, so you want to do this ahead of time.
Mix plaster according to the manufacturer’s instructions and slowly pour into your base. Allow it to set for a few minutes (but not too long), and then slowly push your branch in the base. Hold it in place until the plaster sets enough to support the branch. This only took a few minutes.
Allow plaster to set fully, then cut a circle of felt to fit just inside your base. Cut a slit to the middle and a smaller circle about the size of the branch in the center. Place it on the centerpiece as a skirt for your tree.
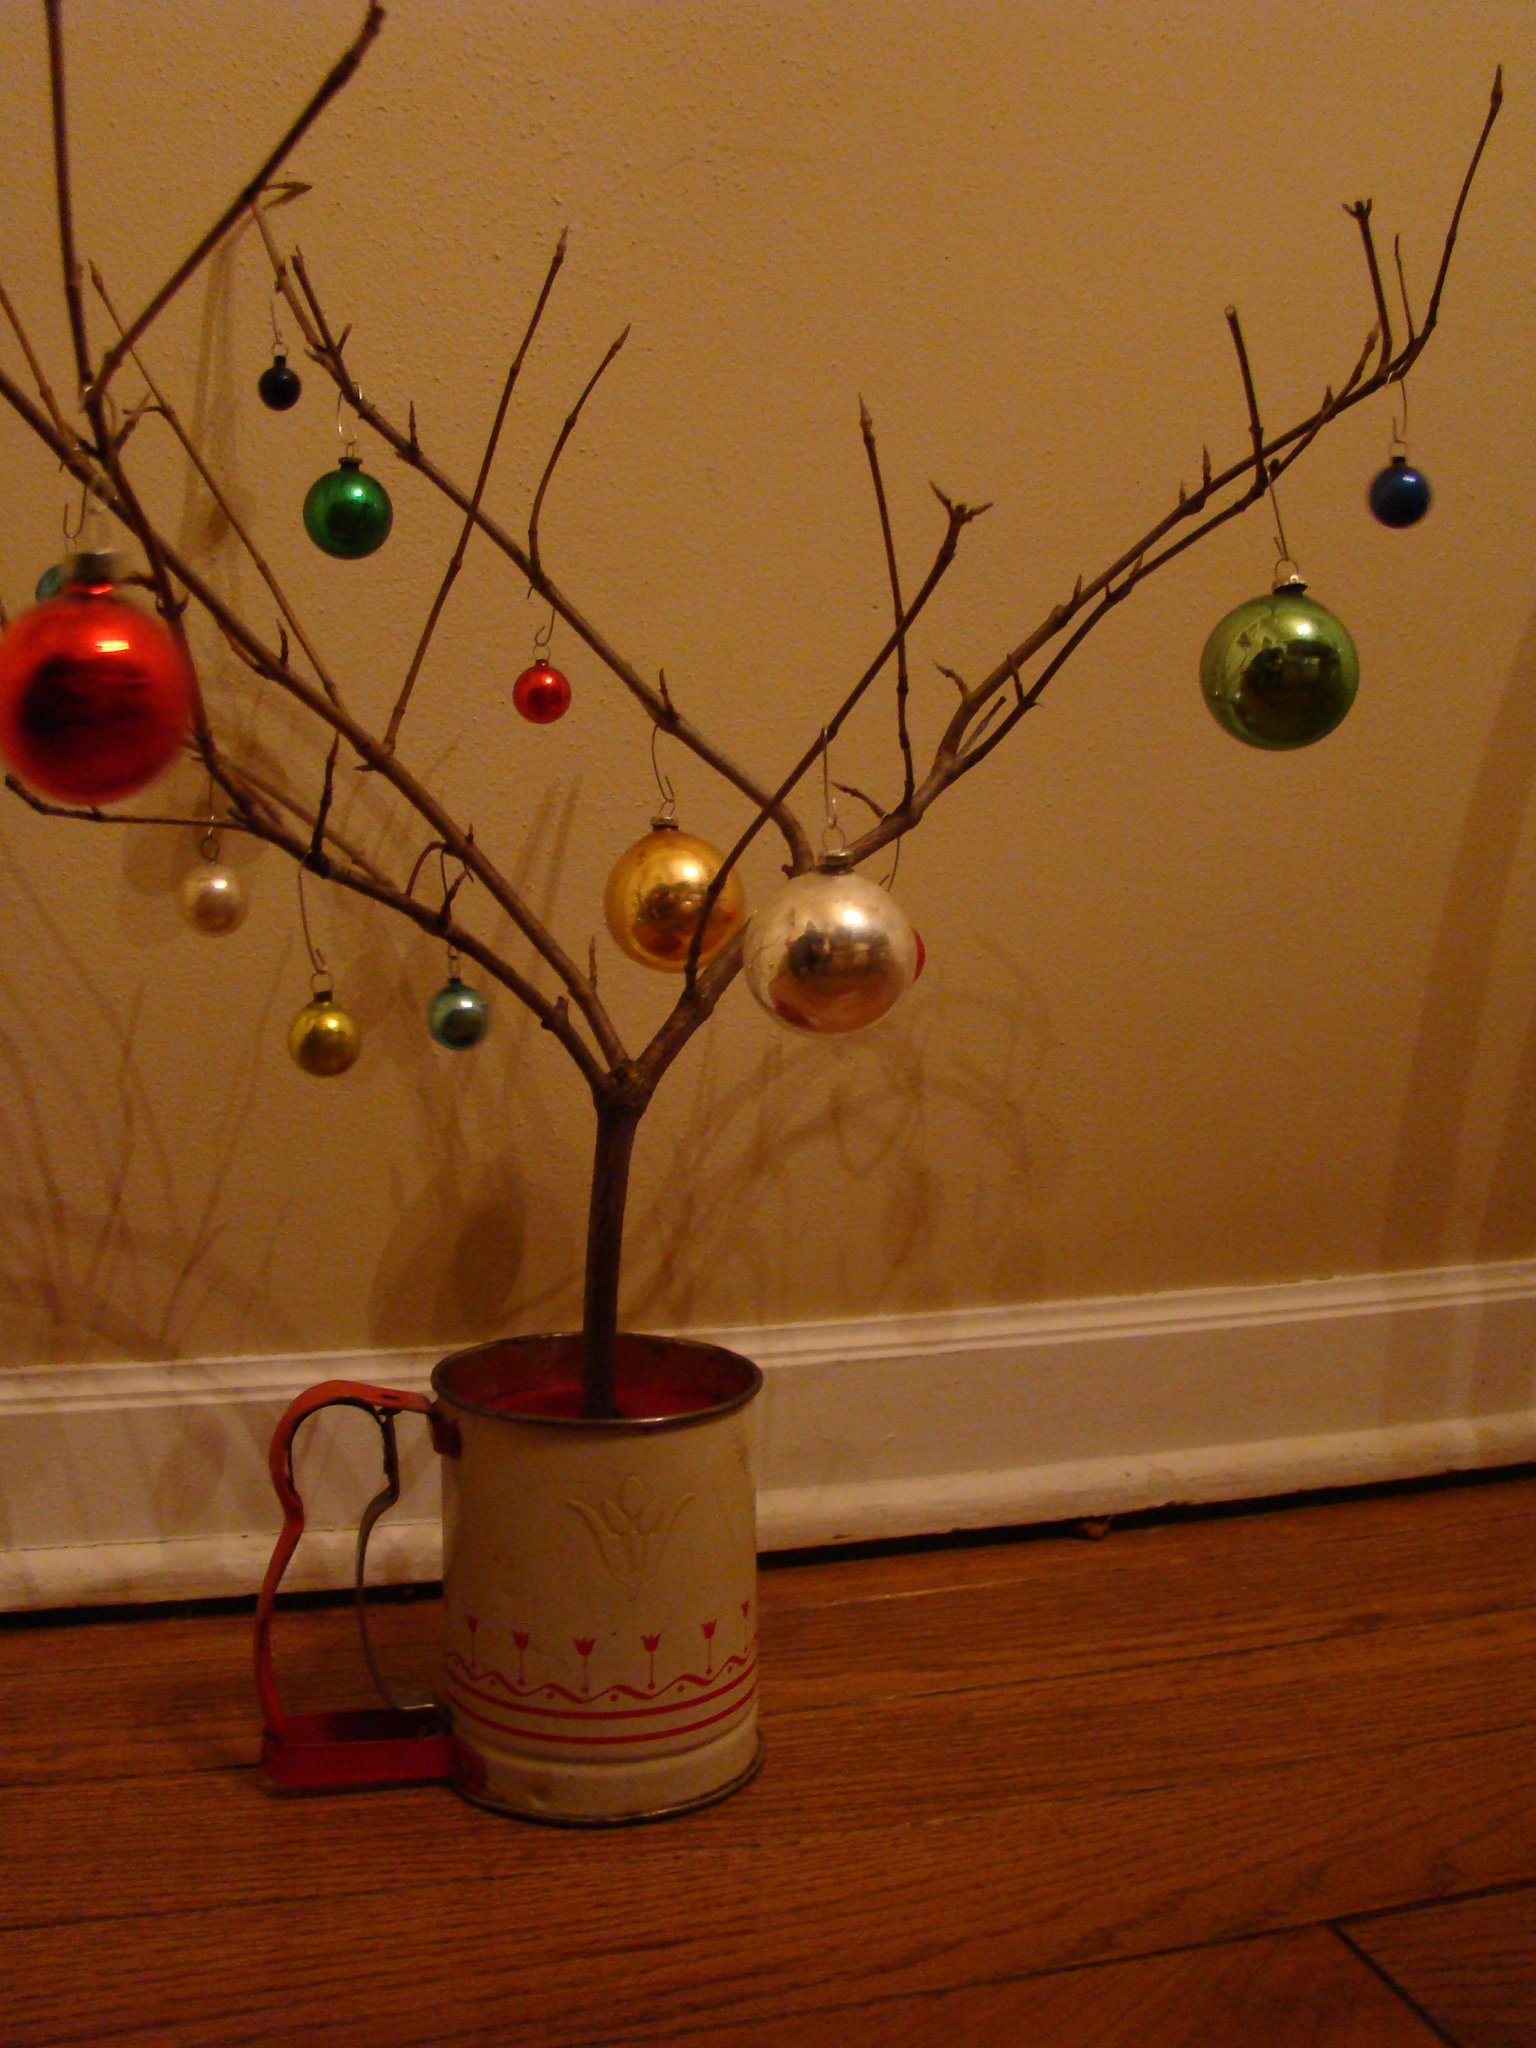
Decorate your branch with simple ornaments and place it in the middle of your table. I have a collection of old glass ball ornaments, and I like the way they look on this project—colorful and festive.