Natural Egg Dyes
I like dying Easter eggs. I’ll admit it: I am in my thirties and still love dying eggs. In the past I’ve made polka dot eggs, striped eggs, and rainbow eggs; one year I painted dye on the eggs with paintbrushes. This year, I kept the dying simple, but had fun playing with the dyes themselves. I made eight different natural egg dyes, and I’ll be doing it again…the surprise when taking the eggs out of the dyes was great fun.
I had never made egg dyes before, and the process was about what I expected. The dyes are easy to make, but involves getting lots of pots dirty. What I didn’t expect was the vibrancy of the colors after pulling the eggs out of the dyes. I thought the tones would be muted, but some are just as bright as typical dye tablets.
In the egg carton picture above the eggs were dyed with the following ingredients: (top row, left to right): turmeric, blueberries, red onion skins, yellow onion skins, beets, and red cabbage; (bottom row, left to right): Hungarian paprika, a mixture of red cabbage and turmeric dyes.
To get rich, vibrant colors, leave your eggs in the dyes overnight. For lighter tones, an hour or two will do it—even 15 minutes in the dye gives white eggs a nice soft color. Of course, if you’re planning on eating the dyed eggs, put them in the refrigerator to keep them safe if your dying overnight.
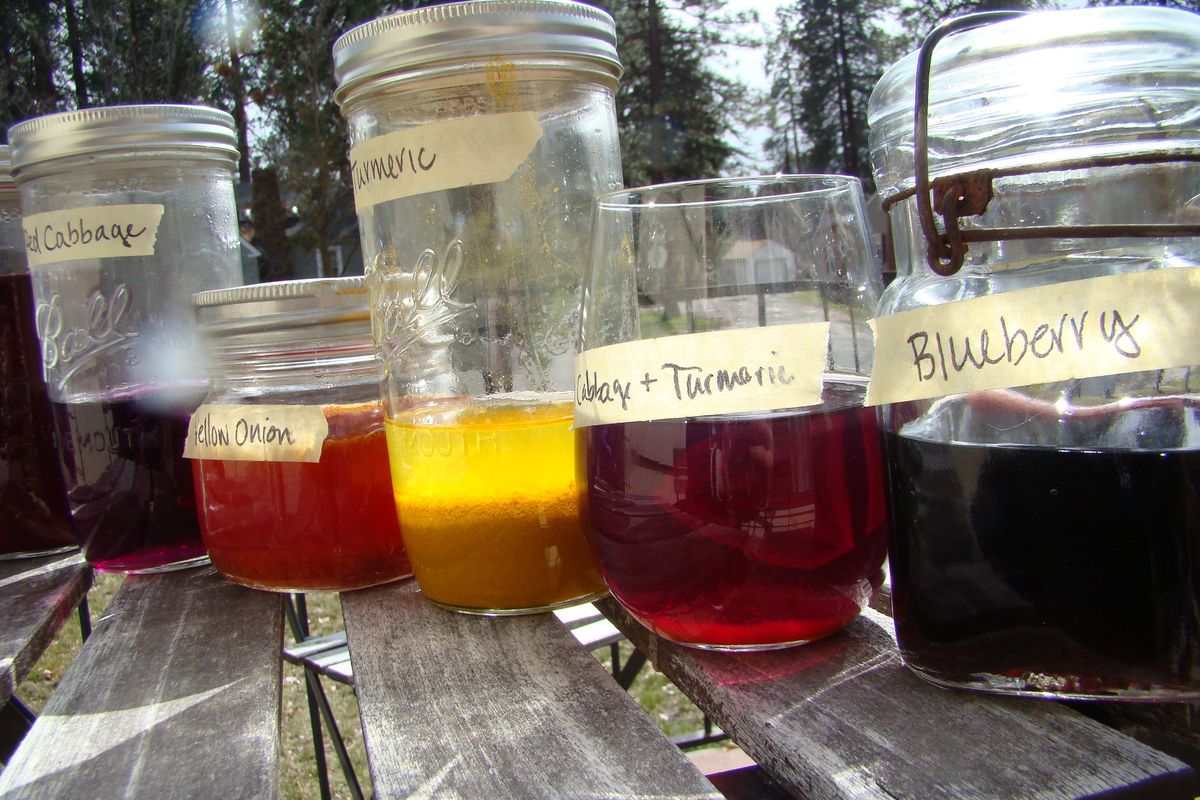
The most surprising dye? Red cabbage looks very purple in dye form, but dyes the eggs bright blue. Add some yellow dye and you end up with jade green eggs, though the dye itself remains purpley-red—magic!
Dye Recipes:
Dark Rust: boil the skins from six red onions in 2 cups of water for 15 minutes. Cool to room temperature, strain and add 2 tablespoons white vinegar.
Dark pink: bring ¾ cup of roughly chopped beets to a boil in 4 cups water, cool to room temperature. Cool to room temperature, strain and add 2 tablespoons white vinegar.
Orange: boil the skins from six yellow onions in 2 cups of water for 15 minutes. Cool to room temperature, strain, and add 2 tablespoons white vinegar.
Yellow: add 2 tablespoons turmeric to 1½ cups boiling water. Cool to room temperature and add 1 tablespoon white vinegar.
Green: mix 1 cup of red cabbage dye with ¼ cup turmeric dye. Mix well.
Bright Blue: roughly chop ½ head of purple cabbage and bring to a boil in 4 cups water, cool to room temperature. Strain and add 2 tablespoons white vinegar.
Blue-Gray: add 1 ¼ cups boiling water to 1 cup frozen blueberries. Cool to room temperature and strain.
Brown: add 2 tablespoons Hungarian paprika to 1½ cups boiling water. Cool to room temperature and add 1 tablespoon white vinegar.
Needless to say, the cabbage, blueberries, beets, and onion skins are best added to the compost pile after you strain the dye, but the onions can absolutely be made into something else. For this project, you just need their skins. I made a batch of balsamic onion marmalade with the yellow onions, and will be pickling the red onions this week.
I hope you give this project a try!