Cultured Butter—March Urban Farm Challenge #1
The March task for the Urban Farm Challenge is home dairy, which may sound like a huge undertaking, but in the confines of the challenge is less “farm-y” than it sounds. Part of the goal is to find out about local sources for milk and learn how you can take part in making a few of the ingredients we tend to use daily without giving a second thought to how they are made.
Spokane has a couple of sources for local, non-ultra pasteurized milk. Spokane’s Family Farm is the best source of local, fresh, clean milk that I’ve found. I planned on visiting the farm this month, but so far I haven’t found the extra time in my days. A good friend, however, has been to the farm with her boys for a “milk and cookies” tour and had a great report (so did her 3 year old).
Spokane’s Family Farm milk is pasteurized, but not ultra-pasteurized (which tends to kill all of the benefits of the milk and enzymes that work to turn milk into cheese (more on cheese making next week). And you don’t have to visit the farm to buy the milk! Huckleberry’s, Rosauer’s, Trading Company, and Main Market all carry their whole milk.
For cultured butter, you need cream, preferably not ultra-pasteurized. I found some cream stocked at Huckleberry’s in a glass pint bottle (which I will use again and again) and am happy with the butter it made.
Cultured butter is slightly different that the sweet cream butter you might be used to. It is rich and creamy, with a slight tang that makes the butter more complex. Making cultured butter is simple and requires so little effort, it is a wonder we don’t make butter more often.
The steps are simple and the working time is only about 10 to 12 minutes.
To make cultured butter, you’ll need:
- 1 pint of heavy cream
- buttermilk
- pinch of salt
- a sieve
- large bowl
- wooden spoon
- food processor
- a paper towel or cheese cloth
- The first step is to make your cream into crème fraîche. Pour the pint of cream into a bowl or jar, add a few tablespoons of buttermilk to the cream and give it a swirl or shake. (I didn’t measure the buttermilk, just added a few generous splashes—this is actually science, but not rocket science). Place a piece of cheesecloth or a paper towel over the mixture and let it sit on the kitchen counter overnight (for about 24 hours). The cultures in the buttermilk will help (good) bacteria develop in the cream—adding tang and making the cream very thick. After your crème fraîche is done, you can refrigerate it, or turn into butter immediately.
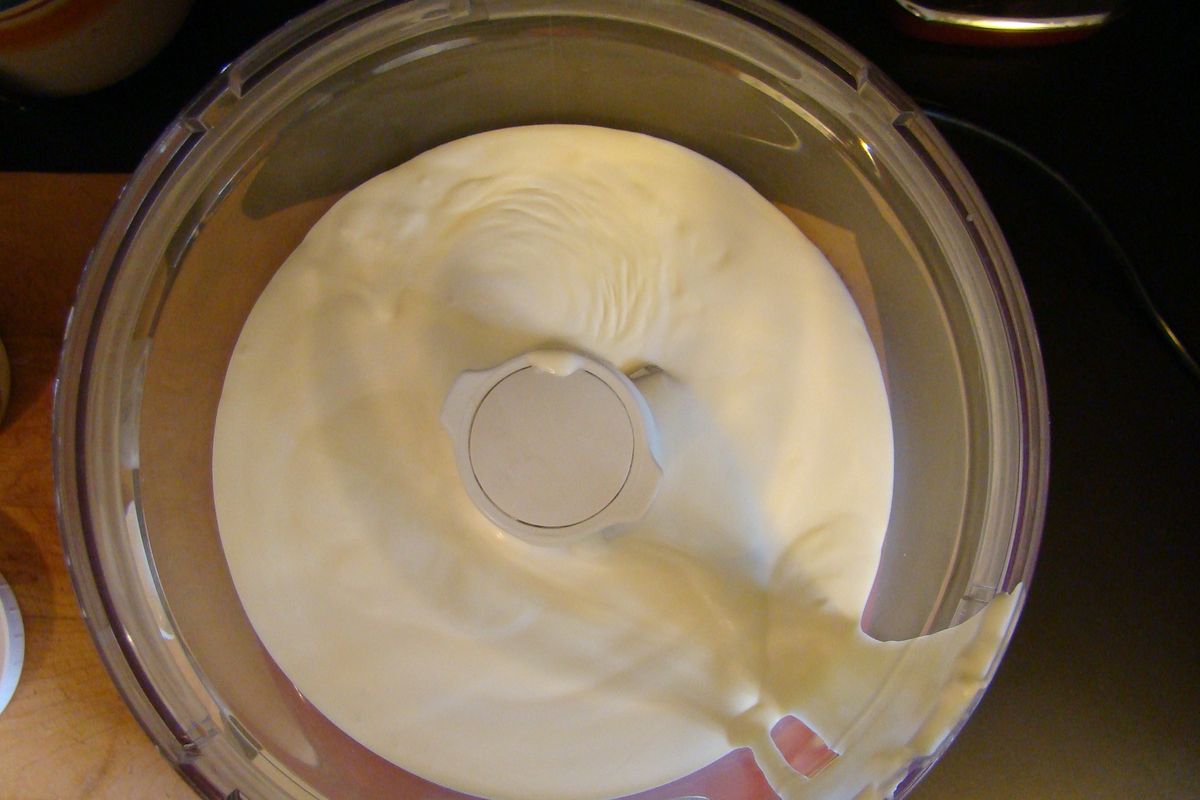
- Churning cream into butter is very easy with a food processor…the processor does all of the work. Depending on your machine, it may take anywhere from 2-10 minutes. Mine takes a little more than 6 minutes. Pour your crème fraîche into the machine, secure the lid, and let the machine work until you can distinctly see the butter solid have separated from the whey. The whey will be thin and very liquidy, the butter will, well, look like little chunks of yellowish butter. Check the slide show above for process pictures.
- Place the butter in a sieve to drain as much of the whey out as possible, moving and gently pressing the solids. When you can’t see much whey left, rinse the butter in the sieve with really cold tap water, and drain it again. The goal is to remove as much of the liquid from the butter as possible to preserve the butter’s shelf life.
- Move the butter solids to a bowl and use a wooden spoon to work the butter into a solid mass. Working the butter will also help remove more of the liquid. At this point, add salt and continue working the butter until it is as free of whey as possible and the solids all come together.
- When your butter is ready, place it in a small bowl or jar in the refrigerator and enjoy!
Stay tuned for our adventure making mozzarella!