Cookbook review: ‘Cook’s Illustrated Baking Book’
Quick Look: With 450 “foolproof” recipes, this is a must-have bible for bakers. Its 15 comprehensive chapters cover everything from cookies, quick breads and scones to cakes, crêpes, croissants and custards. The extensive collection of well-tested recipes and handsome, hand-drawn, how-to illustrations combine to form a trustworthy and thorough reference that aims to demystify the art and science of baking.
What’s Inside: Successful baking, according to the cookbook’s promotional materials, relies not only on ingredients but “proportion, mixing method and temperature – all of which need to work in harmony to produce a perfect tall and fluffy biscuit, a handsome loaf of fine-crumbed pound cake, or a plate of thick and chewy chocolate chip cookies.” This authoritative, user-friendly, encyclopedia-like guide shows you how.
The practical introduction explains baking basics like storing and measuring core ingredients – such as flour, sugar, butter and eggs – and equipping your kitchen with particular baking pans and essential tools. A shopping guide shows off favorite equipment – including prices, brands and best buys – recommended by test cooks, editors and cookware specialists. Classic, mouth-watering recipes are both savory and sweet, easy and ambitious. They include angel food cake, buttermilk doughnuts and plain bagels as well as pie and pizza dough, flan and crême caramel.
There are also recipes for ciabatta, naan, challah, brioche, babka, quick cinnamon buns and so, so much more. Each one features a section called “Why This Recipe Works,” which discusses the test cooks’ aim and process as well as tips tailored to each particular recipe.
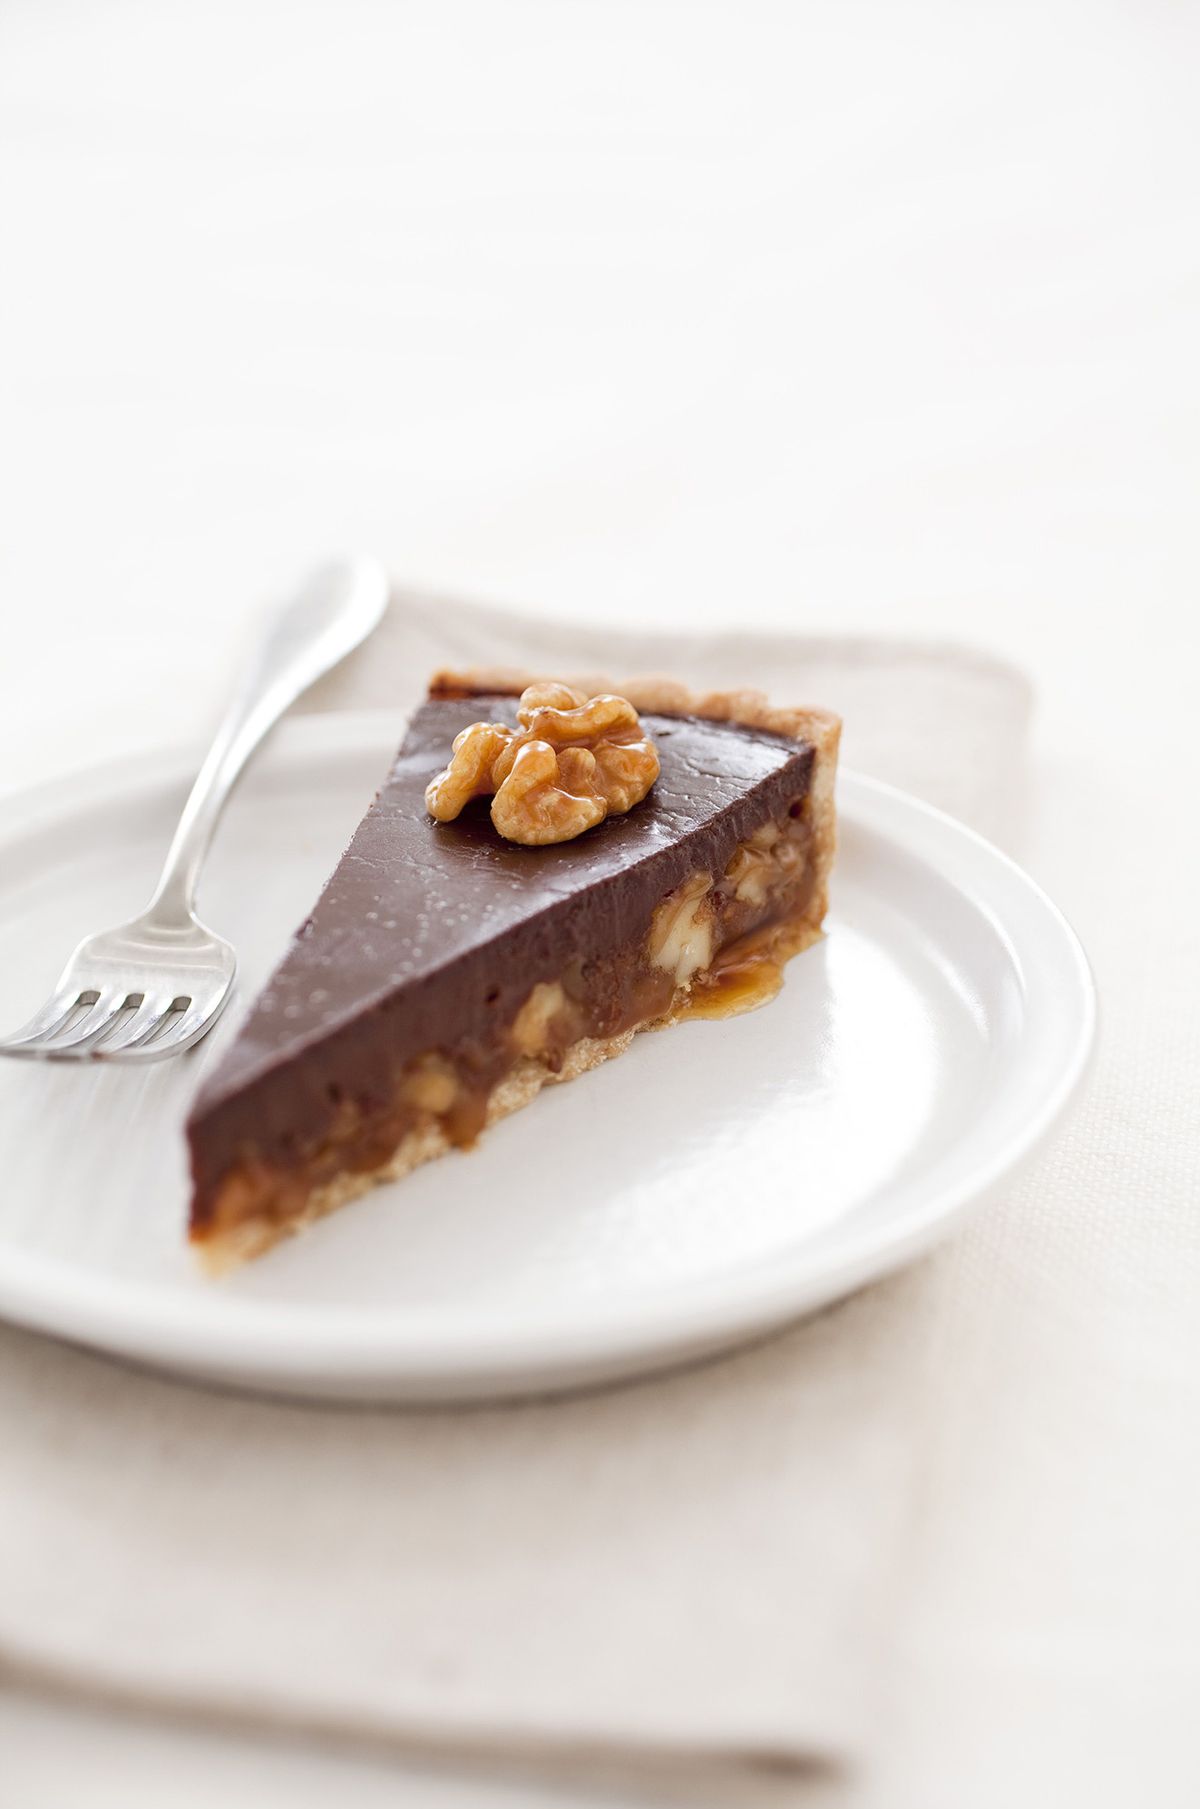
What’s Not: True to its signature style – the magazine is published almost entirely in black and white – there are no color photographs in this cookbook. Still, the Triple Chocolate Mousse Cake, Chocolate Espresso Dacquoise, Sticky Buns with Pecans, and Chocolate Caramel Walnut Tart and all manage to look delicious – even if they’re not in color.
Recipes
The black-and-white photograph in the “Cook’s Illustrated Baking Book” shows a lovely, light and fluffy Angel Food cake with a slice missing, revealing its height and texture. It gets its “snowy-white, tender crumb” and delicate crust from beaten egg whites, reminiscent of making meringue.
Cake flour helps, too. The recipe specifically calls for cake flour, adamantly urging would-be bakers: “Do not use all-purpose flour.” I didn’t listen. And it made a difference.
Although my egg-white-and-sugar mixture formed perfect little peaks and the cake was tall and lightly-crusted when I took it out of the oven, it shrank a good 2 inches during the cooling process. It was still moist, but not quite heavenly. It was definitely more stout and dense than it should have been.
To try to salvage my shortcut, I drizzled an easy vanilla-flavored icing – which I improvised – over the top, then sprinkled pecan pieces for a little more texture.
Needless to say, next time I will use cake flour.
Angel Food Cake
1 cup plus 2 tablespoons cake flour
1/4 teaspoon salt
1 3/4 cups sugar
12 large egg whites
1 1/2 teaspoons cream of tartar
1 teaspoon vanilla extract
Adjust oven rack to lower-middle position and heat oven to 325 degrees. Whisk flour and salt together in bowl. Process sugar in food processor until fine and powdery, about 1 minute. Reserve half of sugar in small bowl. Add flour mixture to food processor with remaining sugar and process until aerated, about 1 minute.
Using stand mixer fitted with whisk, whip egg whites and cream of tartar on medium-low speed until foamy, about 1 minute. Increase speed to medium-high, slowly add reserved sugar, and whip until soft peaks form, about 6 minutes. Add vanilla and mix until incorporated.
Sift flour mixture over egg whites in three additions, folding gently with rubber spatula after each addition until incorporated. Scrape mixture into ungreased 12-cup tube pan.
Bake until skewer inserted in center comes out clean and cracks in cake appear dry, 40 to 45 minutes, rotating pan halfway through baking. Let cake cool completely in pan, upside down, about 3 hours. Run thin knife around edge of cake to loosen, then gently tap pan upside down on counter to release cake. Turn cake right side up onto serving platter and serve.
Chocolate Caramel Walnut Tart
The test cooks say adding ground walnuts to the pastry dough boosts its flavor and adds another layer of crunch to this tart. And, they make caramel the traditional way, taking care not to burn the sugar, for a soft but sliceable caramel-walnut filling.
Walnut Crust
1 large egg
1/4 teaspoon vanilla extract
1/2 cup walnuts, toasted
1/2 cup confectioners’ sugar
1 cup all-purpose flour
1/8 teaspoon salt
5 tablespoons unsalted butter, cut into 1/2-inch pieces and chilled
Caramel-Nut Filling
1/4 cup water
1 cup granulated sugar
2/3 cup heavy cream
3 tablespoons unsalted butter, cut into 3 pieces
1/2 teaspoon vanilla extract
1/2 teaspoon lemon juice
1/8 teaspoon salt
16 to 18 walnut halves, plus 1 cup walnuts, toasted and chopped coarse
Chocolate Filling
2 large egg yolks
1 tablespoon plus 1/3 cup heavy cream
1/3 cup whole milk
5 ounces semisweet chocolate, chopped fine
2 tablespoons unsalted butter, cut into 4 pieces
For the walnut crust: Whisk egg and vanilla together in bowl. Process walnuts and sugar in food processor until finely ground, 8 to 10 seconds. Add flour and salt and pulse to combine, about 5 pulses. Scatter butter over top and pulse until mixture resembles coarse cornmeal, about 15 pulses. With processor running, add egg mixture and continue to process until dough just comes together around processor blade, about 20 seconds.
Turn dough onto sheet of plastic wrap and flatten into 6-inch disk. Wrap tightly in plastic and refrigerate for 1 hour. Before rolling out dough, let sit on counter to soften slightly, about 10 minutes. (Dough can be wrapped tightly in plastic and refrigerated for up to two days or frozen for up to a month. If frozen, let dough thaw completely on counter before rolling it out.)
Roll dough into 11-inch circle on lightly floured counter (if at any point dough becomes too soft and sticky to work with, slip dough onto baking sheet and freeze or refrigerate until workable). Place dough round on baking sheet, cover with plastic and refrigerate for about 30 minutes.
Remove dough from refrigerator; discard plastic but keep dough on baking sheet. Loosely roll dough around rolling pin and gently unroll it onto 9-inch tart pan with removable bottom, letting excess dough hang over edge. Ease dough into pan by gently lifting edge of dough with your hand while pressing into corners with your other hand. Leave any dough that overhangs pan in place.
Press dough into fluted sides of pan, forming distinct seam around pan’s circumference. (If some sections of edge are too thin, reinforce them by folding excess dough back on itself.) Run rolling pin over top of tart pan to remove any excess dough. Wrap dough-lined tart pan loosely in plastic, place on large plate, and freeze until dough is fully chilled and firm, about 30 minutes, before using. (Dough-lined tart pan can be wrapped tightly in plastic and frozen for up to one month.)
Meanwhile, adjust oven rack to middle position and heat oven to 375 degrees. Set dough-lined tart pan on rimmed baking sheet. Spray one side of double layer of aluminum foil with vegetable oil spray. Press foil, greased side down, into frozen tart shell, covering edges to prevent burning, and fill with pie weights. Bake until tart shell is golden brown and set, about 30 minutes, rotating baking sheet halfway through baking. Transfer tart shell with baking sheet to wire rack, carefully remove weights, and let cool slightly while making filling. Reduce oven temperature to 300 degrees.
For the caramel-walnut filling: While crust is cooling, add water to medium saucepan, then pour sugar into center of saucepan (don’t let it hit pan sides). Gently stir sugar with clean spatula to wet it thoroughly. Bring to boil and cook, without stirring, until sugar has dissolved completely and liquid has a faint golden color (about 300 degrees), 6 to 10 minutes.
Reduce heat to medium-low and continue to cook, stirring occasionally, until caramel has dark amber color (about 350 degrees), 1 to 3 minutes. Off heat, slowly whisk in cream until combined (mixture will bubble and steam vigorously). Stir in butter, vanilla, lemon juice and salt until combined. Stir in walnut halves to coat. Let caramel mixture sit until slightly thickened, about 8 minutes.
Set wire rack over piece of parchment paper. Using slotted spoon, transfer caramel-coated walnuts to rack, flip nuts right side up and let cool completely. Stir chopped walnuts into caramel, then pour caramel mixture into cooled prebaked tart shell. Refrigerate tart, uncovered, until caramel is firm and does not run when pan is tilted, about 20 minutes.
For the chocolate filling: While caramel sets, whisk egg yolks and 1 tablespoon cream together in bowl. Bring milk and remaining 1/3 cup cream to simmer in a small saucepan. Off heat, stir in chocolate and butter, cover saucepan, and let stand until chocolate is mostly melted, about 2 minutes. Gently stir mixture until smooth, then stir in egg yolk mixture. Pour chocolate filling evenly over chilled caramel in tart shell and smooth into even layer by tilting pan. Bake tart on baking sheet until tiny bubbles are visible on surface and chocolate layer is just set, about 25 minutes. Transfer tart with baking sheet to wire rack and arrange caramel-coated walnut halves around edge of tart to garnish. Let tart cool slightly on baking sheet for 30 minutes, then refrigerate, uncovered, until chocolate is firm, about 3 hours. To serve, remove outer metal ring of tart pan, slide thin metal spatula between tart and tart pan bottom, and carefully slide tart onto serving platter or cutting board.