Celebrate summer by making coffee can ice cream
Gloves would have been good.
Our fingers were numb, but the reward was on its way – if we could just keep rolling.
My sister and I were sitting in the driveway with our legs out and toes touching, building a corral with our lower limbs and pushing a 3-pound metal can back and forth, first with much gusto, then – as our arms grew tired and our fingers seemed to freeze – with a little less enthusiasm. With the aid of a couple of coffee cans, rock salt and ice, we were a children-powered ice cream machine.
I’m not sure where Mom got the idea, or if we ever did it again, but making coffee can ice cream the summer I was 8 or 9 became one of my favorite childhood memories.
We made plain old vanilla, not even upgrading to vanilla bean. But that didn’t matter. I don’t remember the flavor as much as I remember the fun.
July is National Ice Cream Month. To celebrate, I recently set out to re-create that fun – but enhance the flavor – starting with a quest for coffee cans. They used to be ubiquitous; now, they are nearly obsolete.
Somewhere during the last two or three decades, those sturdy, metal 3-pound containers – the ones Grandma used to use to store cookies and Grandpa kept for holding nails – seem to have given way to much smaller plastic bags or cardboard canisters.
Two are needed for coffee can ice cream: a 1-pound can to hold the ingredients and a 3-pound can to hold the rock salt, ice and, of course, the smaller can filled with the milky mixture.
Instead, I found myself standing in the aisle of a grocery store of a large national chain – the second such stop of the day – contemplating the cultural loss of the 3-pound metal coffee can and lamenting the shortness and squatness of the newer, 23-ounce versions. They only hold 1.4375 pounds, not even half the size of their predecessors.
The 1-pound can, which you can still find in stores, doesn’t fit inside the 23-ouncer with the lids on. So I improvised, buying a $4.99 Tupperware-type container that looked like it would fit. It didn’t.
Rather than trek to a third store, I looked around my kitchen for a compromise, finding the solution in that good old hipster drinking glass: the pint-size mason jar.
I filled the jar with a few simple ingredients – half-and-half, sugar, vanilla extract and vanilla bean – then tucked the jar inside the larger can, filling the space in-between with ice and rock salt, and duct-taping the lid.
As children during that long-ago summer, my sister and I gave up rolling the can earlier than we should have and our ice cream turned out much softer than the store-bought kind. Rolling or shaking or even kicking the can a little longer would have firmed up the frozen treat, but – without time in the freezer – it still wouldn’t have reached the same level of hardness.
And we weren’t about to wait any longer. The plan was to make homemade ice cream and eat it immediately – which we did, with delight.
As an adult, I had a bit more patience, rolling the can back and forth for at least a half hour. The end-product was pure, fresh, full of flavor and still softer than the mass-produced kind, but a little more dense than I remembered.
And, this time, in my old(er) age – read: wisdom – I wore gloves.
Vanilla Bean
Adapted from spoonful.com
For the ice cream
1 vanilla bean
1 pint of half and half
1/3 cup granulated sugar
1 teaspoon vanilla extract
For preparing the cans
1-pound coffee can, emptied and rinsed
3-pound coffee can, emptied and rinsed
Duct tape
Ice, about 10 cups
1 1/2 cups rock salt
Using a paring knife, cut the vanilla bean in half lengthwise. Scrape the back of the knife down each piece, pressing firmly to remove all of the seeds from the inside of the pod. Place seeds in a medium bowl. Add half and half, sugar and vanilla extract, and combine with a whisk until thoroughly mixed. Pour mixture into the 1-pound can, then secure the lid with duct tape. Place the 1-pound can inside the 3-pound can, then surround the smaller can with layers of ice and rock salt and secure the lid with duct tape. Sit on the ground facing a partner, and roll the can back and forth on its side for 30 minutes.
Note: The mixture on the sides of the smaller can will set up faster than the center. After 15 minutes, you might want to check the contents of the smaller can, using a rubber spatula to quickly scrape down the sides and give the ice cream a stir. Also, the ice and rock salt mixture will melt; you might want to replace it halfway through the churning process to help freeze the ice cream mixture faster.
Yield: 1 pint, or about 8 scoops
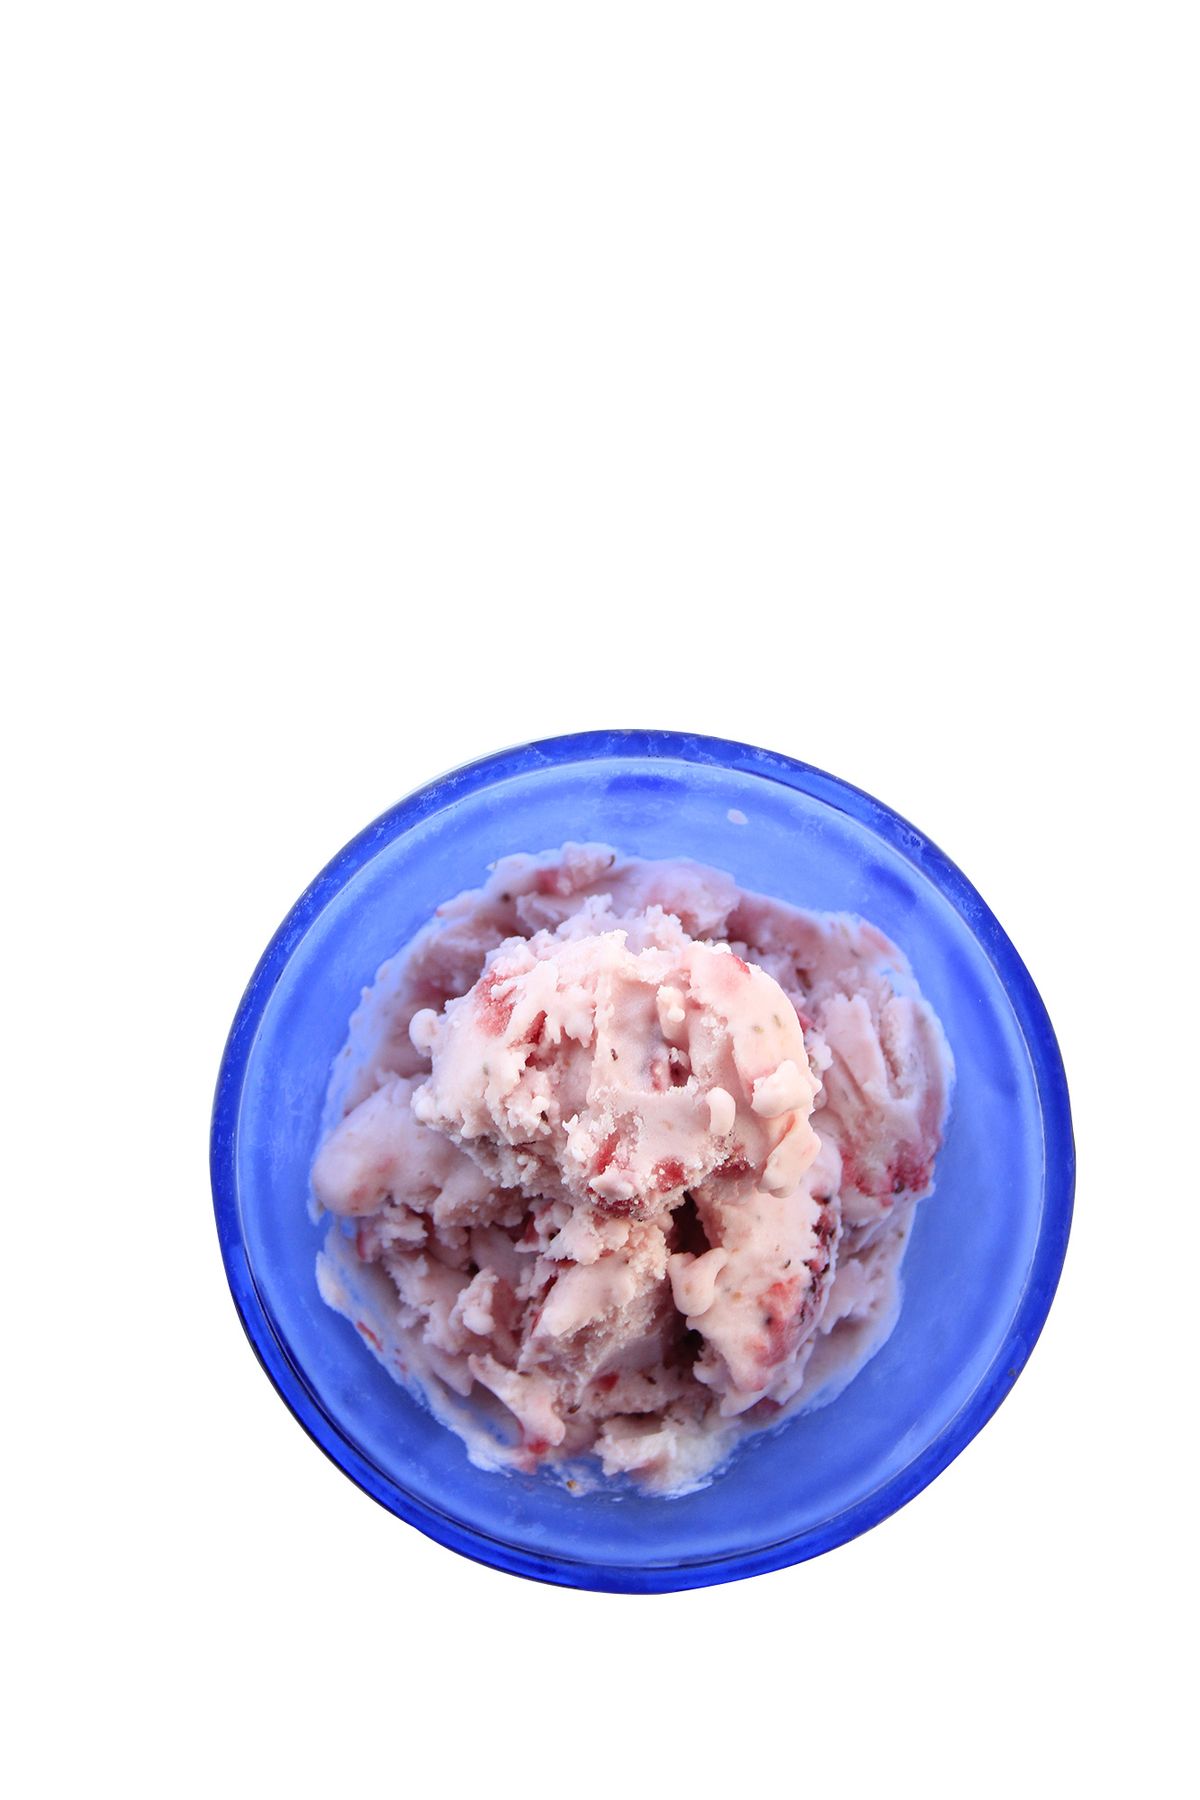
Strawberry
1 pound strawberries, pureed
3 cups half and half
2/3 cup granulated sugar
2 teaspoons vanilla extract
Can preparation (see above)
In a medium mixing bowl, combine pureed strawberries, half and half, sugar and vanilla extract, whisking until thoroughly mixed. Pour half of the mixture into a 1-pound can, then secure the lid with duct tape and refrigerate the remaining mixture. Place the 1-pound can inside the 3-pound can, then surround the smaller can with layers of ice and rock salt and secure the lid with duct tape. Sit on the ground facing a partner, and roll the can back and forth on its side for 30 minutes. Repeat with remaining mixture.
Yield: About 2 pints