In the Kitchen with … Kathryn Smith: Homegrown oats
If you want to roll your own oats, here are some things that won’t work: Tortilla press. Pasta roller. Soil tamper. Driving over them with your car.
A sledge hammer is fairly effective, but time consuming. And tiring.
If you’re wondering why a First World urban human in the year 2016 would attempt such a tedious, Sisyphean task, you’re missing the bigger question: Why would said human have whole oats and not know what to do with them?
Because I grew them.
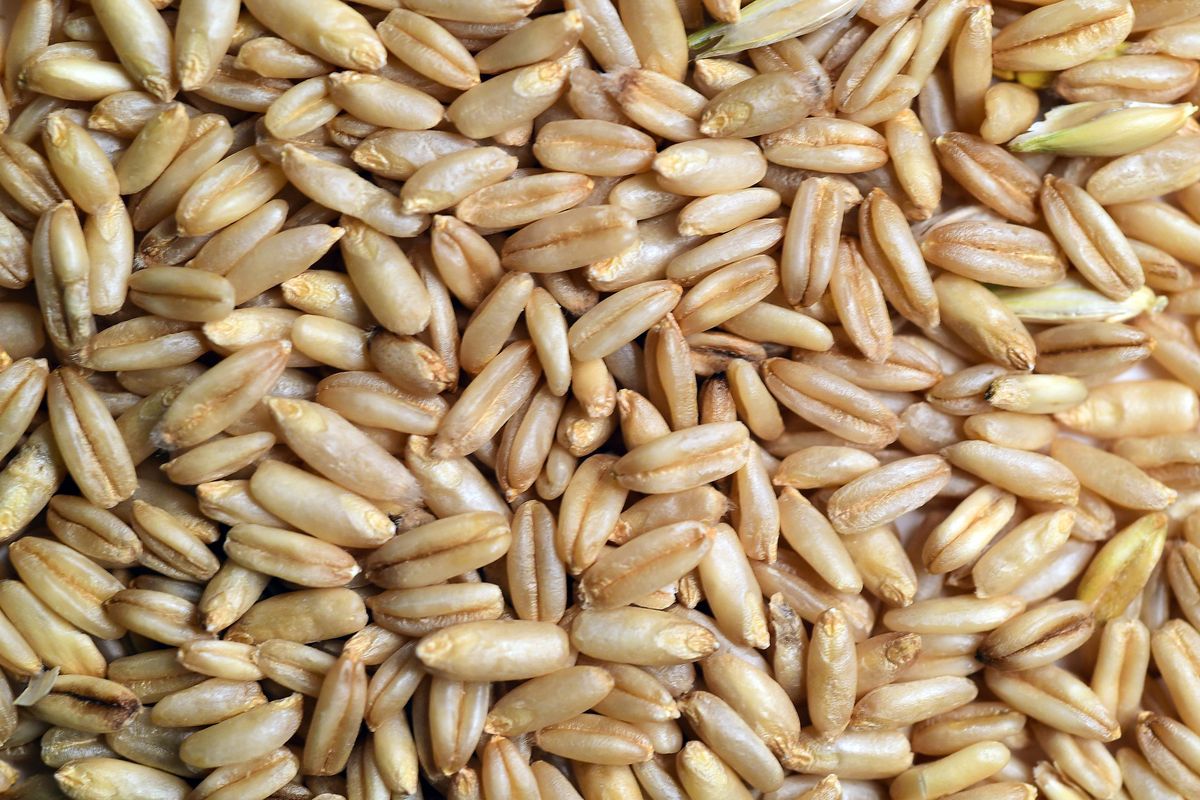
It was this year’s installment in an ongoing turf grass removal program at Tripping Hazard Farm, also known as my backyard. Over a 10-by-2-foot patch of former lawn, I sowed 1 ounce of hulless oat seed, and at harvest, I filled a 2-gallon tub with unthreshed oats. Eventually, this would yield 1 1/2 quarts of whole oats by volume, weighing 2 pounds, 3 ounces.
Feel free to do the math, if you like math. The package of seed cost me $4. The water cost no more than what it would have cost to water that patch of lawn. But given the labor involved in this harvest, I know of no modern individual who would find this endeavor cost-effective.
First, I had to thresh (remove the chaff from the grain). Then, I would winnow (separate the chaff from the grain). By purchasing hulless oat seed (or, rather, hulless oats, since the oat is the seed), I had apparently saved myself a step. Good thing, because the steps I still had to go through were plenty tedious.
For threshing, I consulted the internet and found no shortage of advice from blog-savvy modern homesteaders. I tried the shuffle-dance on a pillowcase filled with oats. Fun, but not much help. I tried a hand-crank meat grinder, purchased at Goodwill especially for this purpose. This didn’t go so well either, but that may have been my fault. (Note: If you have been a vegetarian for as long as you’ve been cooking and you purchase a meat grinder at the thrift store, you’re unlikely to notice if it’s missing a part or two.)
I didn’t try the method employed by former S-R writer Jim Kershner, who embarked on a backyard barley project a couple of summers back.
“I spent hours whacking our barley with a Whiffle bat in the ‘threshing,’ or ‘thrashing wildly’ stage. (I believe medieval serfs also used Whiffle bats),” he told me when I bragged about my harvest on Facebook. “Also, I forgot about how much fun scything could be, and how easy it is to scythe your shin.” Thankfully, as my strip of garden was much smaller than Jim’s barley plot, I did just fine with hand shears.
What finally did the trick was the beater attachment on my food processor. Sorry, serfs. Electricity wins this one.
The winnowing was simpler (and more serf-like): stand in a breezy spot and shake the grain in a colander, or simply pour the grain from a bowl held aloft to a sheet laid on the ground below, letting the wind blow the chaff away. Repeat. And repeat. And repeat.
I let the whole oats (aka oat groats) sit in a jar on my counter where I could admire my hard work. And, finally resigned to the fact that there is no shortcut to rolling, I decided I’d learn to love oats in their whole form.
I found two recipes perfect for a hungry farmer: overnight oat groats for breakfast, and for supper, a favorite hearty salad, modified to use oats instead of the farro called for in the original recipe.
Hmm … Farro. Sounds like a good garden experiment for next year.
Some notes
on cooking
If, for some reason, you didn’t grow oats in your garden this year, whole oats can be purchased at many grocery stores.
My oats absorbed considerably less water than these recipes indicate. Newly harvested oats have a higher moisture content than store-bought oats, which are generally dried so they’ll keep longer. These recipes call for the oat-to-water ratio recommended by Bob’s Red Mill. If you have homegrown oats, you may end up draining off some water.
Overnight Oat Groats
3 cups water
Pinch salt
1 cup whole oat groats
Toppings, as desired
The night before serving, bring water and salt to boil in a medium saucepan. Add groats, cover, and boil for 1-2 minutes. Remove from heat, cover, and let sit overnight.
In the morning, heat the groats thoroughly over medium heat until no water remains, about 5 minutes. Serve with your favorite oatmeal toppings, such as any combination of butter, milk or cream, brown sugar, cinnamon, raisins, diced apple and blueberries. (I like to add diced apple before the final 5 minutes of cooking so it’s soft and warm.)
Yield: 4 servings
Butternut Squash Salad with Oat Groats, Pepitas and Ricotta Salata
Adapted from www.smittenkitchen.com
1 medium butternut squash (about 2 pounds)
5 to 6 tablespoons olive oil, divided
Salt and freshly ground black pepper, to taste
1 cup whole oats
1 tablespoon sherry vinegar
1 tablespoon water
1/2 teaspoon table salt
1/2 teaspoon granulated sugar
1/2 small red onion, finely chopped
3 ounces ricotta salata or feta (about 3/4 cup) (omit to make vegan)
1/3 cup toasted pepitas (aka pumpkin seeds)
Preheat oven to 375 degrees.
Peel squash, halve lengthwise and scoop out seeds. Cut squash into 3/4-inch chunks, spread out on a baking sheet coated with 2 tablespoons of the oil, sprinkle with salt and pepper, and roast until pieces are tender, about 30 to 40 minutes, turning them over halfway through the cooking time. Set aside to cool slightly.
While squash is roasting, cook oats in 3 cups of simmering salted water until the grains are tender but chewy, about 50-60 minutes. Remove from heat and let stand 10 minutes. Set aside to cool slightly.
Meanwhile, in a small bowl, whisk together sherry vinegar, water, 1/2 teaspoon table salt and granulated sugar until sugar and salt dissolve. Stir in onion; it will barely be covered by vinegar mixture but don’t worry. Cover and set in fridge until needed; 30 minutes is ideal.
In a large bowl, mix together butternut squash, oats, red onion and its vinegar brine, the crumbled cheese and pepitas. Toss with 3 tablespoons of the remaining olive oil (use the fourth only if needed). Taste and adjust seasonings. Eat now or later. Salad keeps in the fridge for up to a week.
Yield: 4 to 6 generous servings