Sew a reusable sandwich ‘baggie’
My oldest daughter started eating lunch at preschool this week, which I thought was going to give me a great excuse to start sewing her adorable oilcloth lunch sacks. Unfortunately, she wanted a new Dora the Explorer lunchbox instead.
I’m always trying to reduce the amount of commercial stuff she’s exposed to, so we compromised. She’ll use a small backpack she already owns (and loves) as a lunch bag and I won’t force my homemade sacks on her.
That doesn’t mean I couldn’t sew her a reusable fabric sandwich holder, though!
I whipped one up tonight and think it’s a project even a beginning sewer could accomplish in about half an hour. Make a stack of them and you won’t ever have to buy plastic sandwich baggies again.
Here are some basic instructions. If you’d like more details (including step-by-step photos), visit my craft blog,
Penny Carnival.
First, cut two pieces of fabric into 12-inch squares.
Face right sides together, then sew around three of the edges.
Turn the fabric right side out and poke out the corners with a pointy object (like a knitting needle or dull pencil).
Fold the raw edges of the unfinished side toward each other, then sew a top stitch across that edge to bind all four layers together. What you have now is a finished square that won’t fray when you wash it.
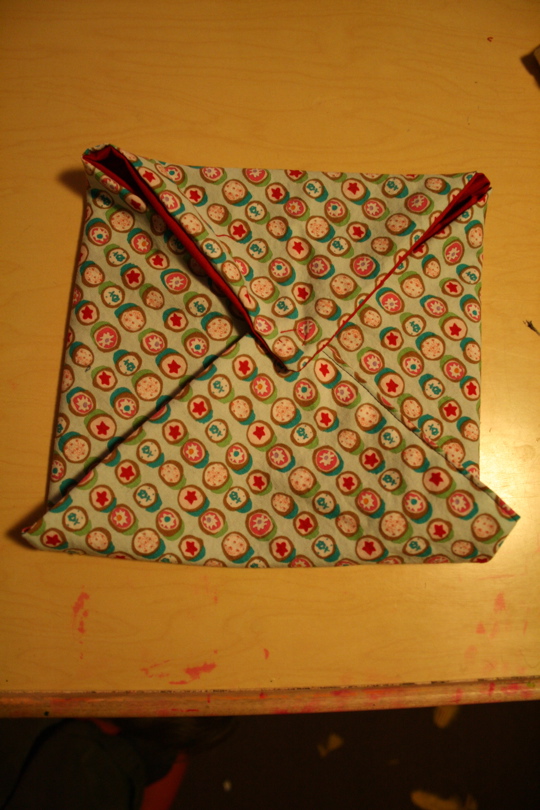
Now, sew snaps or Velcro to the square’s four corners so that the opposite corners fasten together in the middle.
To use, lay the sandwich holder flat and unfastened, place a sandwich in the middle, snap the four corners shut, stick it in your lunch box (Dora or otherwise), and then pat yourself on the back for taking a small step toward helping Mother Nature.
Please leave a comment here if you follow this project or know of another design for reusable lunch storage items.
* This story was originally published as a post from the marketing blog "DwellWellNW." Read all stories from this blog