12 Days of Crafting, Day 11: family holiday journal
Family Christmas Journal, take 2.
I figured out the error of my ways and have a tutorial here for a sleeker, easier journal cover.
Again, the concept here is to create a journal where your family can record its holiday memories year after year. Of course, this tutorial can be used to create a book cover for any theme: birthdays, funny things young children say, etc.
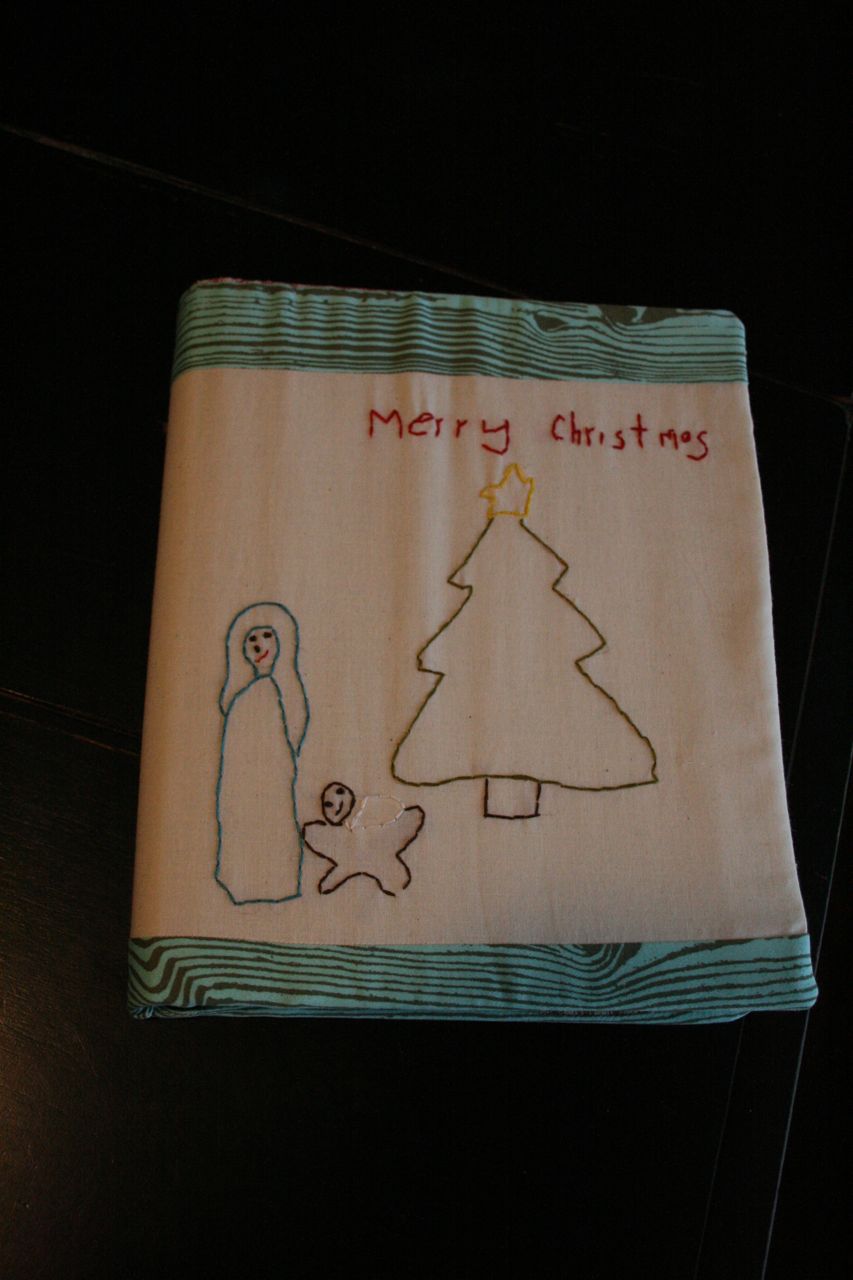
In the interest of full disclosure, my 4 year old traced the Christmas image you see here. She didn’t draw it freehand.
And, in the spirit of being green, the journal you see here was purchased at a garage sale for 25 cents last summer. It pays to be thrifty.
This is probably the most challenging of the 12 Days of Crafting projects, so read carefully and contact me if you have any questions (megan.cooley@comcast.net).
Watching this photo tutorial
might help, too.
You will need:
-A hardback journal
-Three pieces of fabric that are the same size as the open journal, plus 3/4 inch around all sides. One fabric should be muslin or cotton broadcloth (cover fabric). The second should be flannel (padding fabric, only a small section will be visible when you’re done). The third should be cotton broadcloth that complements the cover fabric (inner flaps).
-Two strips of the inner flap fabric that are each 1 1/2 inch tall and as long as the width of the pieces of fabric above.
-Embroidery floss and needle
-Child’s drawing
-Pencil
-Sewing machine and basic sewing supplies
1. Choose a journal. Cut a piece of muslin or cotton broadcloth the size of the opened journal, plus about 3/4 inch on all sides.
2. Take one of your child’s existing drawings or have them create a picture using a dark felt pen. Cut one inch of the top and bottom of the cover fabric. Place the cover fabric on top of the drawing and trace it with pencil or a water-soluble fabric pen.
3. Embroider over the traced picture on the fabric.
4. Place the embroidered fabric right side up on a table. Pin the two strips of border fabric to the top and bottom on the embroidered fabric, right sides down. Sew them together with a 1/2-inch seam allowance. Press so that the seams lean toward the border fabric.
5. Lay out the three layers of the journal cover now: the embroidered cover, the flannel padding and the inner flap fabric.
6. Cut the piece of inner flap fabric up the middle, where the book’s spine will be. Then hem the inner sides (vertically), folding the edge of the fabric over twice so the hems don’t fray.
7. Layer the three types of fabric in this order: Flannel first (doesn’t matter which side is up); embroidered journal cover second (right side up); two inside flaps next (right sides down). Pin everything together, with the inner flaps lining up on the left and right sides, creating a space for the book’s spine in the middle.
8. Sew—through all three layers—around the four sides of the book cover with a 1/2-inch seam allowance. Trim away excess fabric, especially at the corners.
9. Turn the journal cover right side out.
10. Slip the journal’s front and back covers into the jacket. You’ll have to bend the covers backwards to accomplish this. You should struggle a bit to get the cover on the book. That way, it will fit snugly once it’s on.
11. Begin writing your family’s memories in the journal. You could jot down what gifts you exchanged, what cookies you made, what songs you sang, who was with you on the holiday or whatever else comes to mind.
* This story was originally published as a post from the marketing blog "DwellWellNW." Read all stories from this blog