12 Days of Holiday Crafts, Day 12: Tying a Perfect Bow
My mom taught me how to tie the perfect bow years ago. It is easy to tie, and even easier to untie (a must when it comes time to unwrap). I though on this, the final day of holiday crafts, I’d share the technique with you. If you are anything like me, you still have presents to wrap. I hope this tutorial comes in handy for you. (See the photo tutorial for extra guidance).
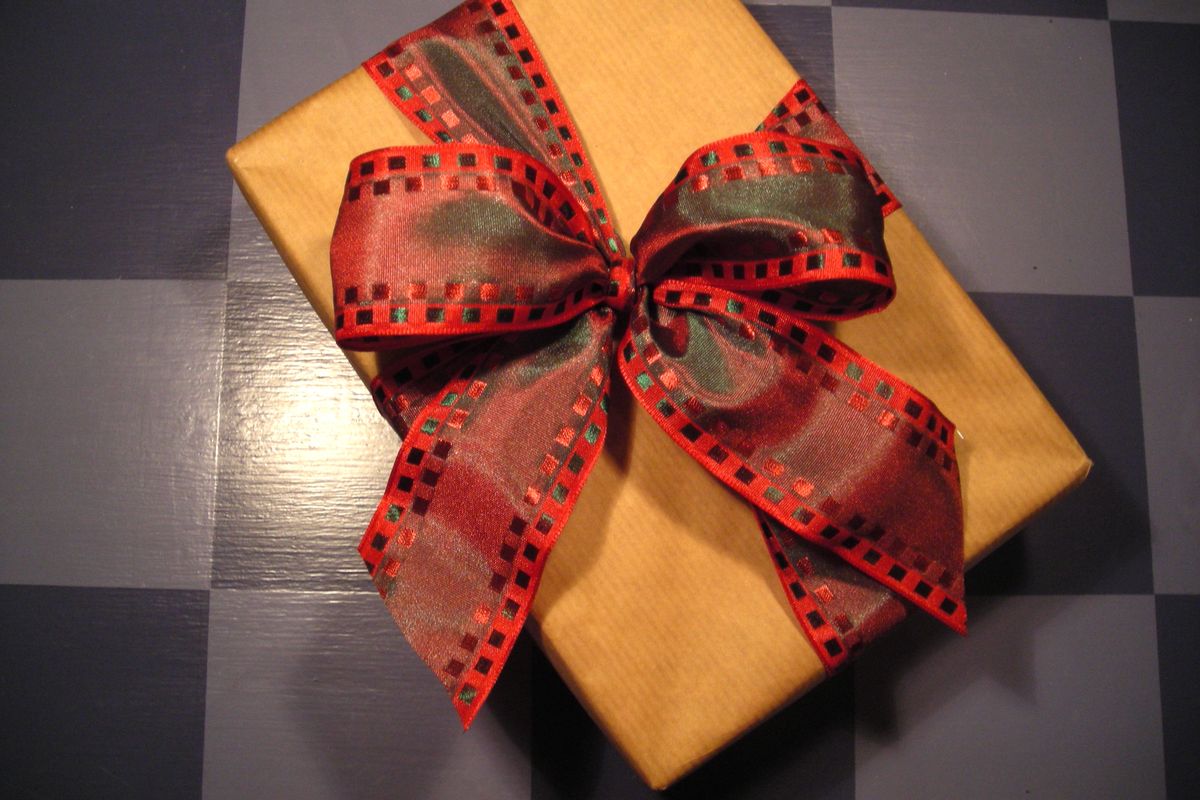
I love a simply wrapped package with a pretty ribbon bow, and the ribbon is easily reusable. Win!
- I leave the ribbon on the roll as I’m tying the bow; I find it easier and less wasteful. Leave about a 20” tail on your ribbon and place in under your package and bring both ends to the top center. The end of the ribbon that is still attached to the roll will be your “working ribbon.”
- Twist the working ribbon around the cut end at the middle of the box, and then wrap it all the way around the box, bringing it back to the top center.
- Tuck the cut end of the ribbon under the center twist and pull both ends tight.
- Make the first bow loop with the cut end of the ribbon, and then wrap the working ribbon around the loop, creating a “center” for the bow.
- Pull the working ribbon through the center to make the second loop.
- Pull both loops simultaneously to tighten the bow.
- Cut the working ribbon off the roll.
- Fluff and shape the bow a bit, and you’re done.
- To untie the bow, just pull on one cut end and the ribbon with untie without requiring scissors.
Easy. Fast. Beautiful.
Enjoy the holidays you celebrate, Dwell Well readers. Thank you for reading along on my 12 Days adventure!
* This story was originally published as a post from the marketing blog "DwellWellNW." Read all stories from this blog