Thanksgiving Table Decorations
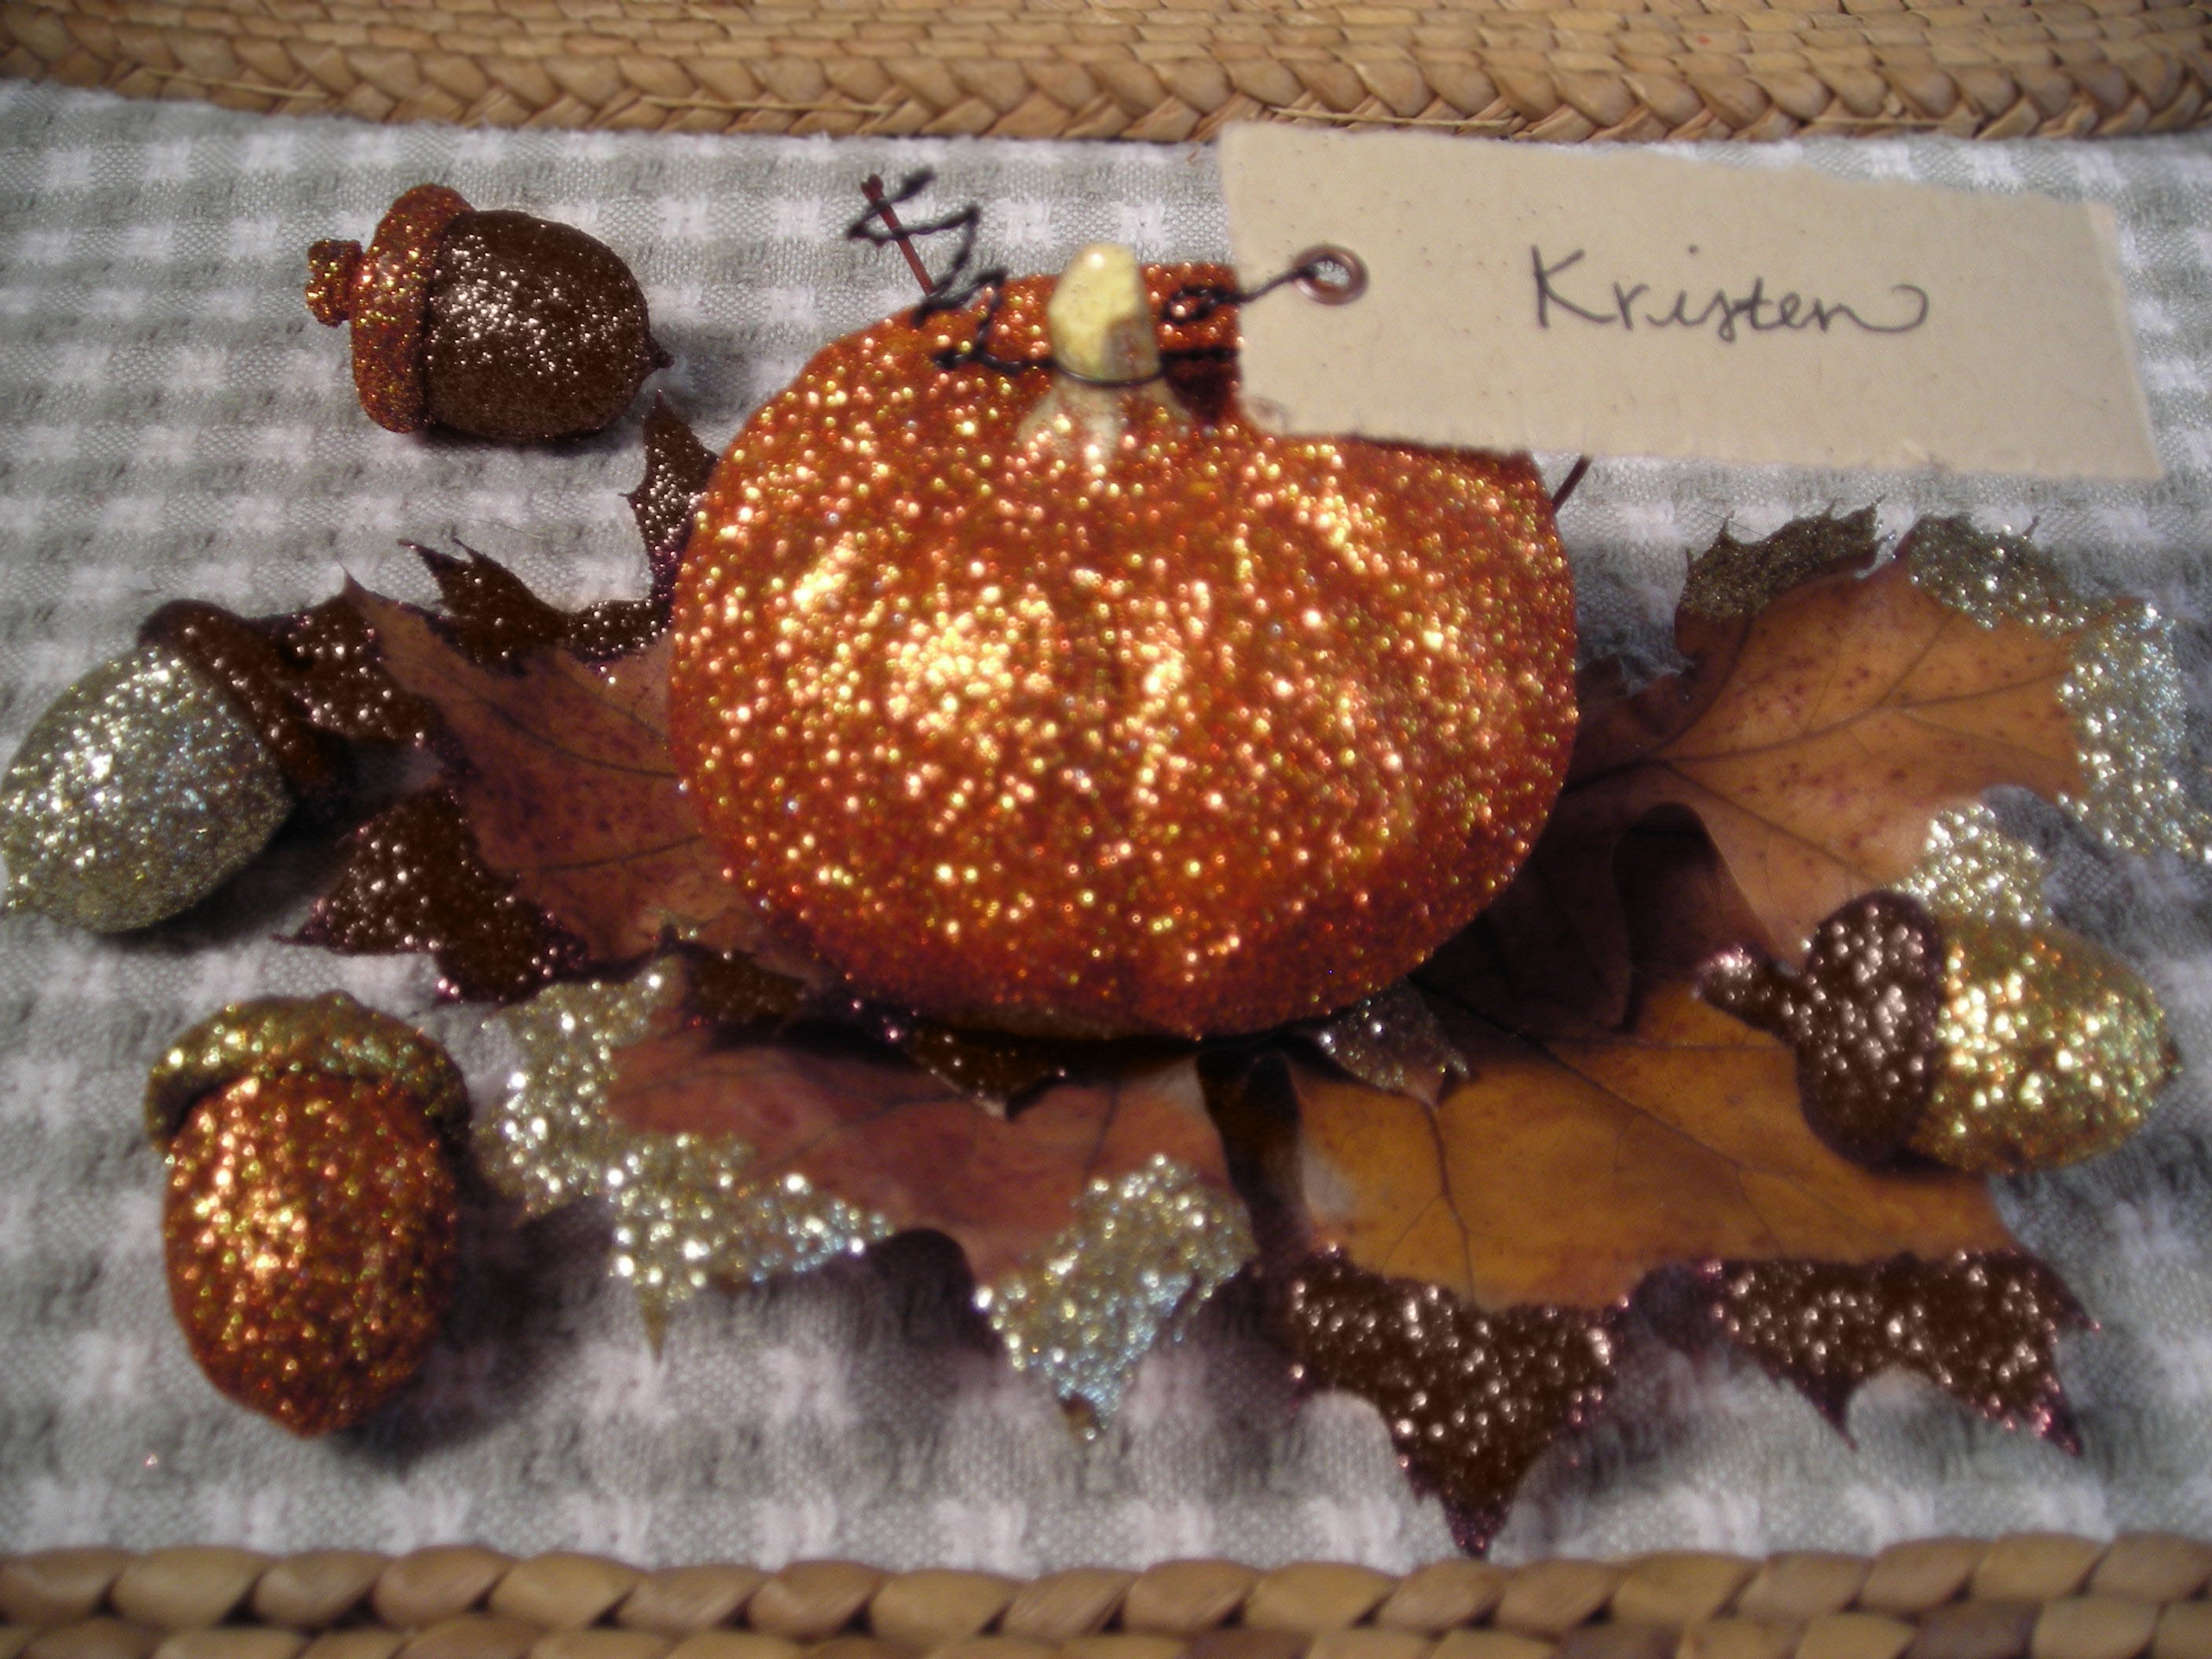
I recently scoured parks for fallen acorns and renewed the lives of decorative pumpkins leftover from Halloween to create place card decorations for Thanksgiving. This is a very easy project that can even be done with kids!
If you don’t need place cards on your table, you could also place the acorns in a small wooden bowl with a few pumpkins for a centerpiece.
Yes, the glitter does migrate into every crevice of your work area, and some will end up on the tablecloth, but this simple project is a great way to add a little pizzazz to the table—and guests can take home their pumpkin decoration as a favor. Bonus!
Continue reading for instructions.
Materials
:
acorns (with caps)
decorative pumpkins
maple leaves
glitter in fall colors
glue (I used a white glitter glue that dries clear)
an old paintbrush
wax paper
cardstock scraps
metal eyelets (if desired)
wire.
Instructions
:
Using and old, small paintbrush, brush a thin layer of glue on the orange of the pumpkin (I did this in sections to make it easier and make sure the glue didn’t dry too fast).
On a piece of wax paper, make a small pool of glitter. (I found that rolling the glued pumpkin in the glitter was more effective than sprinkling glitter directly on the pumpkin). Using the stem as a handle, roll the gluey side of the pumpkin in the glue to cover well. Repeat until the pumpkin is completely covered in glitter. (I left the stems glitter-free because I liked the look better)
Apply glitter to the acorns using the same basic method, but make sure you let one section (acorn or cap) dry completely before using a second color. I actually found removing the caps before applying glitter, then gluing them back on afterwards, easier.
For the leaves, just brush glue at the tips lightly and press into the glitter. Let the glue dry.
Print or write each guest’s name on a piece of cardstock and tear it to the desired size. (I like the look of torn edges, as it is more natural, but you could cut the cardstock with decorative scissors). Punch a hole in the end and add an eyelet if you wish.
Cut a piece of wire about 10 inches long, put it through the eyelet at about the center-point, and give the wire a few twists. This will allow you to position the name later. Next, form the wire around the base of the pumpkin stem, then twist the wires together tightly to the end. Curl the twisted end around a pen or chopstick. Play with the wire until you like the positioning of the name and the curled end, arrange the items above each guest’s places, and there you go!
* This story was originally published as a post from the marketing blog "DwellWellNW." Read all stories from this blog