Paper Pinwheel: Friday’s Project #17
This is an easy project that is fun to make with kids—and who doesn’t like a pinwheel? The fun of the pinwheel lies in your options for paper. Just remember, the sky is the limit. I made red and blue pinwheels in the spirit of the Fourth of July weekend, but I do plan on playing with color choices again—pinwheels are quite a fun and fast project.
You will need (for one pinwheel):
- 2 squares of paper or cardstock (6-inch, 4-inch, or 2-inch squares)
- a brad
- scissors
- small hole punch (I used an 1/8” punch)
- stapler
-
a straw
- Glue the two papers together and allow to dry.
- Make a diagonal cut straight toward the center from each of the four corners, stopping about ½” to ¾” from the center.
- Punch a small hole in the center of the square and in the one the left-hand corner of each section.
- Fold the punched corners to the center without creasing the paper.
- Place the brad through the holes and attach to your straw. I used a basic drinking straw and punched a hole through the top, then added some staples to allow the straw to fit on the brad loosely. Your pinwheels should spin easily.
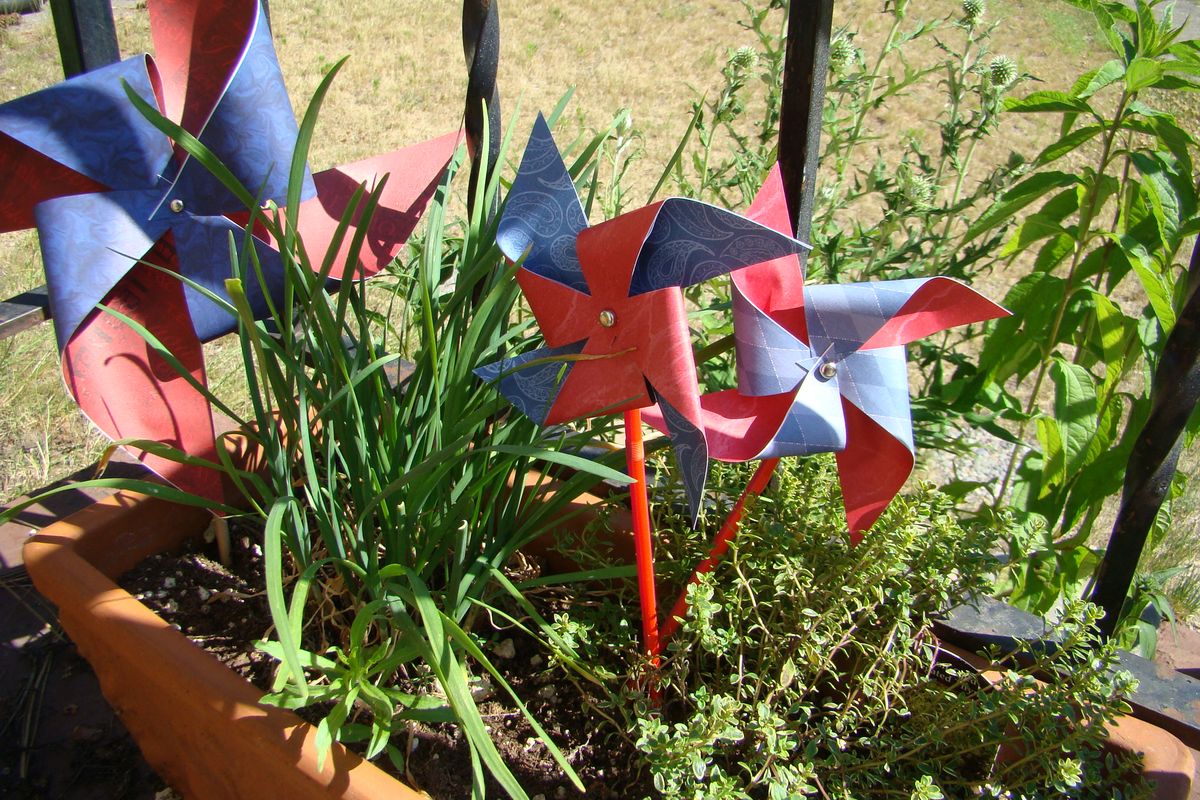
Take them to a parade or place them in a flowerpot—festive! Happy 4th to you!
* This story was originally published as a post from the marketing blog "DwellWellNW." Read all stories from this blog