Ask The Builder: A better way to vent your clothes dryer

Q. I need your advice. My clothes dryer stopped getting my clothes dry. The problem was traced to the vent line being squished behind the dryer. I was also told the flexible plastic pipe was inferior. Can you share your magic way of connecting clothes dryers to vent pipes so they’re trouble free? – Valerie S., Mesquite, Texas
A. When your clothes dryer is taking longer and longer to dry clothes, it’s often a sign of a clogged vent pipe, a clogged lint filter or a lint-clogged vent flapper.
Several years ago, I helped a single mom install a new washer and dryer in a home she had rented. I had to modify the length of the dryer vent pipe and was stunned when I took it apart. The entire 25 feet of the vent pipe from the old dryer location to the exterior vent hood was choked with lint. I had never seen anything like it in all my years!
Another time, when I was trying to connect my own vent pipe to a new dryer my wife bought, I found it needlessly frustrating. The first mistake most builders make is installing the vent pipe in finished laundry rooms close to the floor. That was the root cause of my frustration. I was trying to lean back over the dryer reaching down to tighten screws and lost it.
I decided I was going to make it easy for myself and anyone else in the future to deal with disconnecting the vent pipe for cleaning, inspection or installing the next new dryer. I got out my tools and relocated the vent hood so it was exiting the house wall a few inches above the back of the dryer.
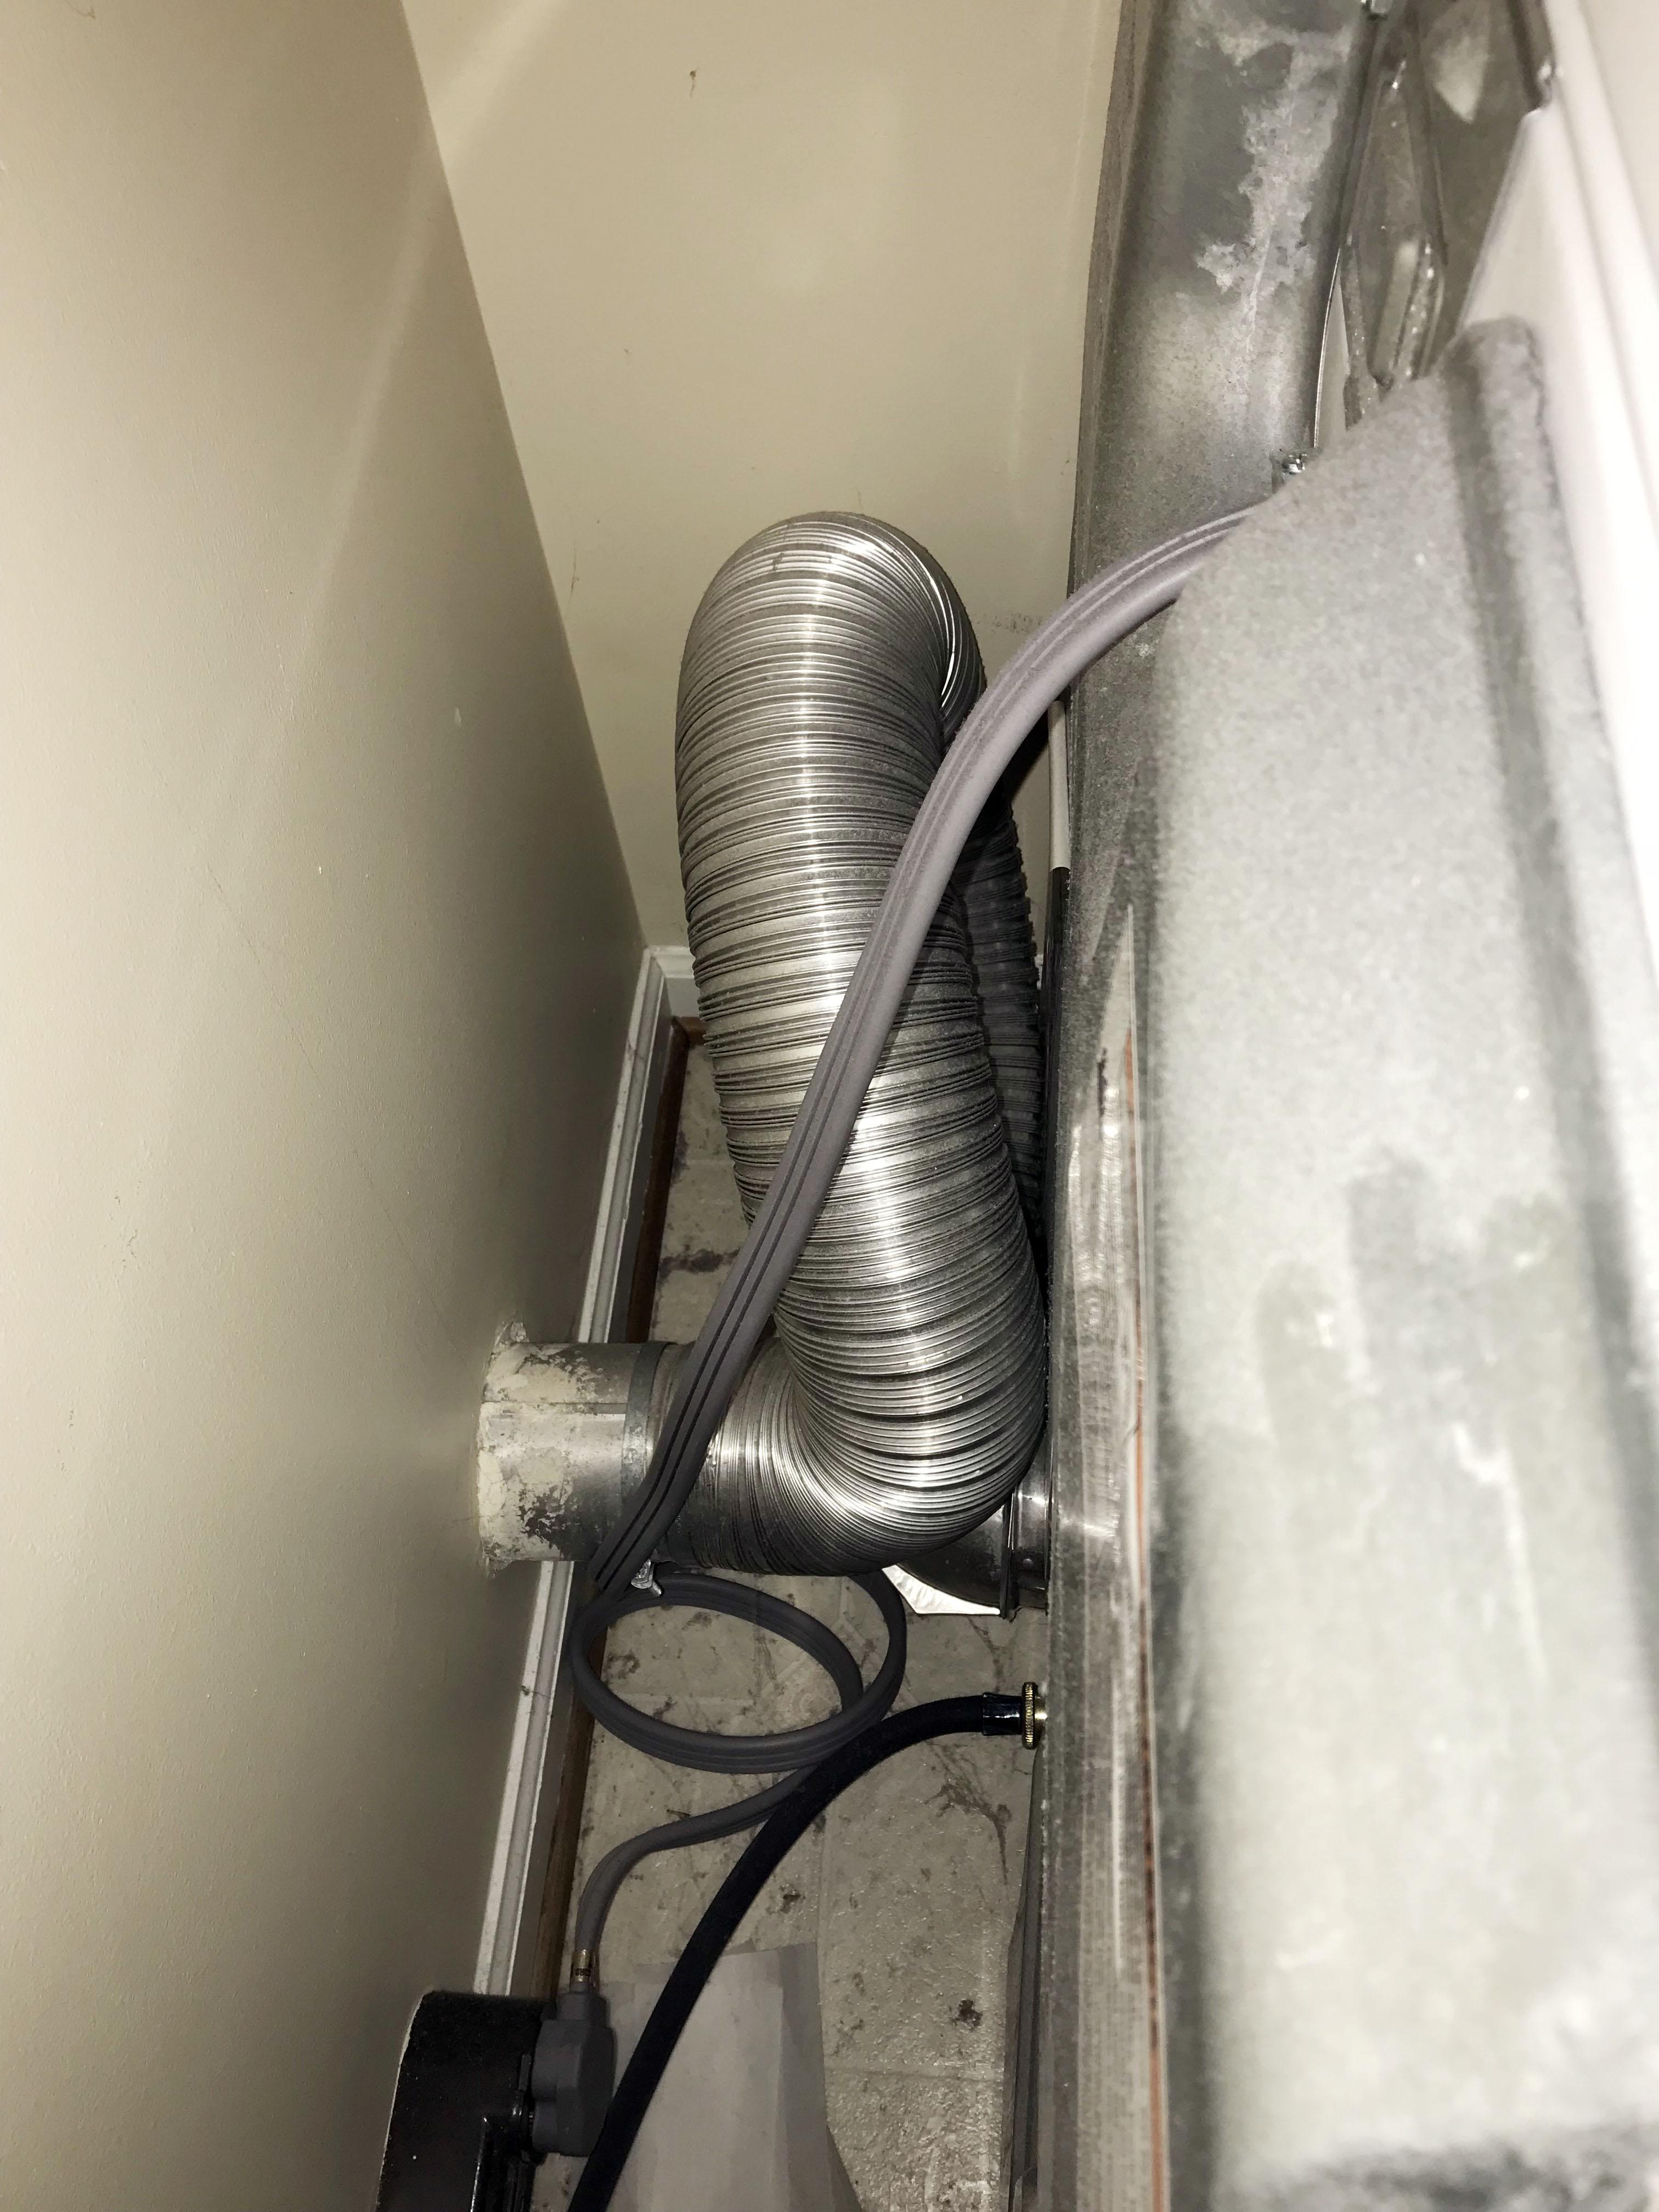
Doing this allowed me to connect solid 4-inch metal 90-degree angle pipe to the male outlet at the base of the dryer using sheet-metal screws. I then extended a piece of solid pipe straight up the back of the dryer from this fitting.
I attached a second 90-degree fitting to this vertical pipe above the back of the dryer using more screws. This fitting would connect to a short stub of pipe that exited my exterior wall. I was able to slide the dryer closer to the wall and had no trouble mating the fitting to the short stub of the pipe. Installing the final screws was easy.
At first blush, you may not like this solution because you’d see the ugly metal pipe above the dryer. I knew my wife would be unhappy too. I solved that problem by making a box shelf that attached to the wall with a French cleat.
This open-bottomed box slid over the vent pipe hiding everything. The shelf was a perfect place for the box of dryer sheets and other things that seem to gravitate to laundry rooms. I even put in small writing on the front bottom corner, “Slide up for vent pipe access.”
Q. Tim, what’s the truth about deicing salts and concrete? I recently saw some magic liquid that I can use instead of salt. Does salt harm concrete? Is there anything I can apply to my concrete to prevent damage? If the concrete surface is spalled, what can be done? –Danny V., Traverse City, Mich.
A. The subject deicing salt and concrete is complex, and many thousands of words have been written about it. I can give you the CliffsNotes version.
Deicing salt can harm concrete that’s not been mixed, placed, finished and cured properly. The trouble is when you look at a concrete sidewalk, driveway or patio, you have no idea if all those things were done correctly.
I can show you concrete sidewalks in different towns that have had deicing salt on them for decades and the surface has not crumbled. That’s your simple proof that concrete can resist salt.
Before you buy the magic fluid, do some math. I recently saw some deicing fluid and discovered it’s 37 times more expensive than salt. Most people put on way too much salt to deice. You only need to use 5 pounds of salt per 1,000 square feet of concrete.
Before winter set in, it would have been a great idea to spray a clear penetrating silane/siloxane water repellent on your concrete. Read the directions and put on two coats if possible, one immediately behind the other. This sealer helps minimize the salt brine from soaking into the concrete.
Salt-damaged concrete usually doesn’t have to be replaced. Often just the top 3/8 inch of the concrete has crumbled. You can install a long-lasting cement stucco overlay using coarse sand, Portland cement and hydrated lime to resurface the concrete. The secret is to use cement paint to bond the old concrete to the new stucco mix. I have detailed instructions for this process at AsktheBuilder.com.
Subscribe to Carter’s FREE newsletter and listen to his new podcasts. Go to: https://www.AsktheBuilder.com.