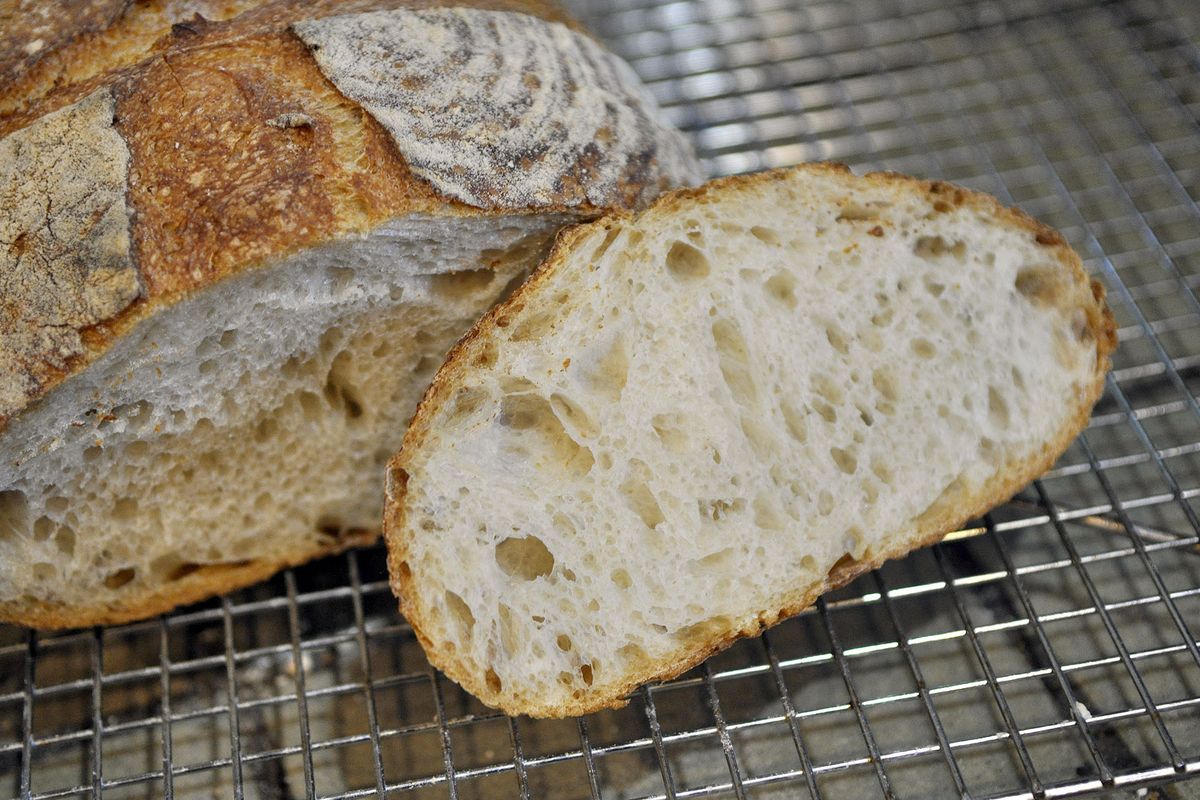
Water Cooler: Sourdough beginner tips – good starter key to success

Sourdough was one of the year’s biggest quarantine trends. For all its funky, delicious flavor, sourdough requires a bit of babysitting, which is much easier to do in quarantine and while working from home.
Like all cooking, sourdough takes a bit of trial and error to master, and there’s no doubt many beginners have experienced the frustration that comes along with ruining a loaf of bread into which hours of time and attention had been poured.
A complete guide to sourdough would take a book length to explain in full, but here are at least a few tips to help beginners create a successful dough.
You begin with a healthy and active starter. A starter is another term for a leaven, which is the substance that is used in dough to make it rise. Sourdough starter does not use commercially produced leavening agents. Instead, it develops naturally by providing a culture for the wild yeast and bacteria in your environment to flourish.
This is where the babysitting comes in. A starter must be fed. The yeast and bacteria feed on the sugar within the starch molecules of the flour and produce carbon dioxide in the process. This is what causes the starter to rise after being fed with additional flour and water. Most bakers recommend feeding the starter once or twice a day if you are actively baking. Your starter can become inactive if neglected. If you aren’t actively baking, you can store the starter in the refrigerator to slow the fermentation process, and it should be maintained with one or two feedings a week.
There are several signs that indicate a healthy starter. If left at room temperature, it should at least double in size after being fed. If the top of the starter is slightly rounded, this means it hasn’t deflated and run out of food. A tangy smell indicates active fermentation. You also can take a scoop from the starter and place it in a bowl of water. If it is healthy, the starter should float.
Use a kitchen scale to get precise baker’s percentages. It is possible to wing some baking, but when it comes to something as time-consuming as sourdough, precision is your ally in creating consistent results.
Percentages help you calculate the hydration level of your dough. Higher hydration levels create more open crumb structure and thinner, crisper crust. Recipes usually call for 65% to 100% hydration levels, depending on the type of flour.
Take advantage of an autolyse. This is a gentle mixing of the flour to water, followed by a rest period of 20 to 60 minutes. This pause improves the gluten structure of the bread. Gluten is made up of the proteins gliadin and glutenin. Adding water binds these proteins together to make gluten. An autolyse allows the gluten bond to develop with a slow fermentation, requiring less kneading while developing flavor and adding volume with a more open crumb structure.
Don’t knead the dough. Stretch and fold it instead. When the starter is first added to the dough, it won’t have a smooth texture. With a stretch and fold process every 30 minutes for two hours, the dough will get smoother each time and will begin to hold its shape once the gluten bonds develop and strengthen.
The dough then has to rise. This takes four to six hours at room temperature, but you can make it work around your schedule by placing the dough in the fridge overnight for a cold ferment. This slows the process and gives you more flexibility with the timing.
Use a bench scraper to manage sticky dough. Sourdough can be wetter than other bread mixtures. Avoid the temptation of adding too much flour while shaping the dough by using a bench scraper instead of your hand.
Instead, add generous amounts of flour to the banneton while proofing. Bannetons are used to proof and maintain the shape of a loaf.
Flour them heavily to avoid sticking, then just brush off the excess flour later.
To tell if the dough is proofed, use the poke test. Poke the dough and if it springs back while still leaving a small indentation, it is ready. If it springs back completely with no dent, let it proof a bit longer. If it doesn’t spring back at all, the dough is likely overproofed.