Community Cookbook: Let’s picnic!
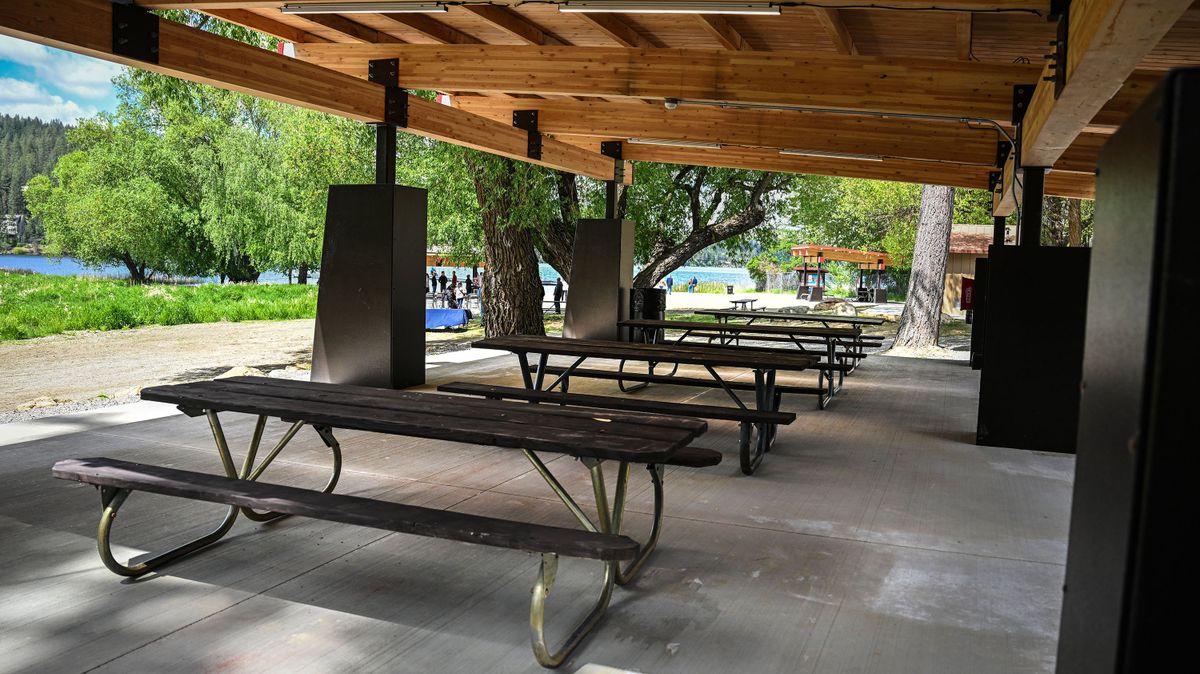
Summer is picnic time, with its welcoming weather, lush greenery and active wildlife. It’s the perfect time to enjoy the many large and small parks around us. Picnics provide an opportunity to ease our mental gears and momentarily escape the usual rigors of our busy lives. Picnics aren’t uniquely American, although we Americans have undoubtedly set the record for distances traveled to picnics, given our obsession with automobiles and our appetite for travel.
Municipal parks have seen a renaissance over the past several decades. Many impressive park development projects have been completed, with more in the works. Our municipal parks have generally flourished (this may be changing), and we can still fully enjoy their accommodations. They do mostly belong to us.
There’s something about the whole picnic experience – the planning, the anticipation and the preparation. And when it finally happens, the travel and the arrival. With fresh air and sunshine, surrounding trees and vegetation, and occasionally nearby water, picnics are often relaxing and rejuvenating. Picnics can be grand productions involving considerable preparation and coordination with others. They can be as quick and easy as tossing a little food in a basket, packing a blanket and making a short trip to the nearest park.
There are potential challenges to achieving a successful picnic: mosquitoes, ants, cunning ninja squirrels and the “Oops, we forgot the paper plates and silverware” moments. Consideration of possible perils aside, here’s an adventurous picnic menu suitable for consumption in the wildest wilderness, or in the nearest city park or backyard.
Unfried Chicken Legs
In the first test of this recipe, I used a small amount of oil, as most similar recipes call for. The legs were moist and tender, but they were oily, oily, oily. You couldn’t handle the chicken without washing your hands before handling anything else. Paper towels weren’t enough. So, I resolved to cook the chicken without using oil or butter. The results turned out pretty well.
¾ teaspoon salt
1 teaspoon brown sugar
½ teaspoon smoked paprika
½ teaspoon garlic powder
½ teaspoon onion powder
½ teaspoon chili powder
½ teaspoon black pepper
¼ teaspoon cayenne pepper
10-12 chicken drumsticks (about 3½ pounds)
Combine all ingredients, except the chicken legs, in a small bowl. Clean the chicken legs, if preferred, and thoroughly dry with paper towels. Place the legs in a large bowl and spread the skin to cover as much meat as possible. Sprinkle the spice mix over the legs and rub it in until they’re fully covered. Place in a single layer, skin-most side up, on a rack in a shallow baking pan, leaving a little space between each (line the pan with aluminum foil for easier cleanup). Use 2 pans, if needed. Refrigerate, uncovered, for 2 hours. Let sit at room temperature for 1 hour. Turn the legs over and bake on a rack in the middle-low position of an oven preheated to 400 degrees for 14 minutes. Turn the legs over and bake until an instant-read thermometer, inserted into the thickest parts of the legs, without touching the bone, registers 175 degrees, about 14 minutes (check most or all to be safe). Place the pan(s) 6 inches below the broiling element and broil until the skin crisps up, 3-4 minutes. Remove from the oven and let rest 10-15 minutes before serving.
Notes: The temperature will continue to rise about 5 degrees while resting. 175-180 degrees is the ideal finished temperature for poultry legs and thighs.
Yields: Five or six main-dish servings
Mom’s Potato Salad
Mom’s potato salad was one of her most popular dishes. It was a welcome addition to any lunch or dinner anytime of the year, including Christmas and Thanksgiving. She made it so many times over so many years – well, I guess practice does make perfect. Mom never had a written recipe, and her potato of choice was the temperamental russet. While great for baking, mashing, and shooting out of potato cannons, russet potatoes are often frowned upon for use in potato salad. Their high starch content doesn’t hold up well to boiling, and they can quickly turn into mushed potatoes. Mom very skillfully used this potential flaw to produce her exceptional potato salad.
5 large whole eggs
3 pounds russet potatoes, scrubbed, peeled, and sliced into ½-inch cubes
7 tablespoons sweet pickle juice
⅔ cup mayonnaise
1 teaspoon salt
½ teaspoon black pepper
4 green onions, sliced into 3/8-inch pieces
½ cup diced sweet pickles
Paprika
Dissolve ½ teaspoon of salt in 2 cups of water in a medium saucepan and 2 tablespoons in 6 cups in a small stockpot. Add the eggs to the saucepan and enough water to cover by an inch. Cover with a lid and bring to a boil over medium-high heat. Remove from the heat and let sit, covered, for 12 minutes. Drain and transfer to a large bowl of cold water until cooled. Peel the eggs and cut one into ⅜-inch thick slices for garnish. Separate the yolks from the whites of the remaining eggs. Chop the whites.
Add the potatoes to the stockpot and enough water to cover by an inch. Cover with a lid and bring just to a boil over high heat. Reduce the heat to medium and lightly boil until the largest cubes are tender through, 10-12 minutes, adjusting the heat, as needed, to maintain a light boil. Drain and let cool for 5 minutes.
Transfer the potatoes to a 12- to 14-cup flat-bottomed container and drizzle the pickle juice over. Stir vigorously, making sure the juice is fully distributed and absorbed. Spread the potatoes out in the container and let rest, uncovered, for 10 minutes. Partially mash the potatoes with a fork, breaking up most of the cubes.
Combine the mayonnaise, salt, and black pepper in a small bowl. Combine the egg whites, green onions, pickles, and finely crumbled egg yolks with the potatoes. Stir in the seasoned mayonnaise. Garnish with the egg slices and sprinkle paprika over the top. Refrigerate for at least 4 hours (overnight is best) to chill and allow the flavors to blend. Cover when chilled.
Notes: Made with regular mayonnaise, the salad will last a week or more in the refrigerator (Mom always used regular mayonnaise). Made with light or fat-free mayonnaise, use the salad within two days for the best quality.
Yields: About 8 cups
Easy Does It Coleslaw
I made this quick and nutritious cabbage salad for several years before writing down a recipe. It makes just enough coleslaw to round out a nice lunch or dinner for one or two people. You can double or triple the recipe to accommodate a larger group.
2 cups shredded cabbage or coleslaw mix
2 tablespoons minced onion
2½ tablespoons mayonnaise
2¼ teaspoons granulated sugar or substitute sweetener
1 teaspoon white vinegar
¼ teaspoon yellow mustard
⅛ teaspoon salt
⅛ teaspoon black pepper
Place the shredded cabbage or coleslaw mix and onion in a medium bowl. Make the dressing by combining the remaining ingredients in a small bowl. Add the dressing to the vegetables and mix well. Cover and refrigerate for an hour or two to allow the flavors to blend. Stir well before serving.
Notes: Pulse the coleslaw mix in a food processor for a finer shred. The shredded cabbage or coleslaw mix and dressing can be prepared and refrigerated separately for later use. Use the coleslaw within 3-4 hours of combining the vegetables and dressing for the best quality. I like to put the coleslaw mix in a container with a loose-fitting lid and refrigerate for a day or two to reduce water content. This storage method also increases the mix’s shelf life. Stir once in a while to aerate evenly.
Yields: About 2 cups
Dick Sellers is a freelance writer. Contact him at dickskitchencorner@outlook.com